Learn how to Draw a Rose Flower Step by Step— Easy Drawing Guide

Learning to draw a rose is a fun and creative activity that both kids and beginners can do.
With simple steps and easy shapes, anyone can make a beautiful rose drawing

Difficulty Level: Easy

Time Needed: 30 Minutes

Material Needed:
  • Pencil & Eraser – for sketching and fixing mistakes.
  • Drawing Paper – plain white or sketchbook page.

  • Colors – use crayons, color pencils, or markers.

  • Black Marker – to outline the Rose Drawing.

  • Sharpener – to keep your pencil ready.

Color Needed:
  • Main Body: Rose Red
  • Pedicel (Flower Stalk): Green
  • Stem and Leaf: Green

Interesting and Fun Facts About Rose Flower

  • Roses are one of the oldest flowers in the world and have been grown for over 5,000 years.

  • There are more than 300 different types of roses found around the world.

  • Roses come in many colors, and each color has a special meaning.

  • The red rose is a symbol of love and romance.

  • Some rose plants can live and bloom for many years with proper care.

  • Roses are used in perfumes, medicines, and beauty products.

  • Rose petals are edible and are often used in teas, desserts, and sweets.

  • learn more, Click Here: Rose

Step-By-Step instruction for Easy Rose Flower Drawing

The final result of our Easy Rose Flower Drawing will look something like this:

Easy rose drawing step 11 showing the final colored rose with red petals and green leaves

Download drawing PDF for Free, Learn and Draw Rose with help of easy Instructions

Step 1: Draw the Center Spiral

Easy rose drawing step 1 showing how to draw a simple spiral in the center
  • Draw a small curved spiral in the middle of your paper.

Step 2: Add an Outer Curve

Easy rose drawing step 2 showing how to add an outer curve around the spiral
  • Draw a larger curved line around the spiral.

Step 3: Draw the Side Petal

Easy rose drawing step 3 showing how to add a curved side petal to the spiral
  • Add a curved line on one side to form a petal.

Step 4: Add More Petals

Easy rose drawing step 4 showing how to add more curved petals around the center
  • Draw curved lines on both sides for more petals.

Step 5: Complete the Outer Petals

Easy rose drawing step 5 showing how to complete the outer petals
  • Finish the outer layer with smooth curves.

Step 6: Draw the Bottom Petals

Easy rose drawing step 6 showing how to draw the bottom petals
  • Add curved lines at the bottom of the flower.

Step 7: Add the Sepals

Easy rose drawing step 7 showing how to add small sepals under the rose
  • Draw small curved shapes under the flower.

Step 8: Draw the Stem

Easy rose drawing step 8 showing how to draw the stem
  • Add two curved lines below the flower.

Step 9: Draw the Leaves

Easy rose drawing step 9 showing how to draw two leaves
  • Add two leaf shapes on the stem.

Step 10: Add Leaf Details

Easy rose drawing step 10 showing how to add leaf vein details
  • Draw simple lines inside the leaves.

Step 11: Color the Rose

Easy rose drawing step 11 showing the final colored rose with red petals and green leaves
  • Color the flower and leaves neatly.

Great job!
You have completed your Rose Flower drawing!

Keep practicing, and soon you will be able to create easier rose drawings with confidence. Drawing every day will help you improve your skills and become better at flower drawing. Enjoy your creative journey.

Rose Flower Drawing Process Overview – From Start to Finish

All in one view Rose Drawing

Tips to make Rose Flower Drawing Better

  • Start with a small spiral in the center – A loose, uneven spiral creates the tight inner petals of a real rose.
  • Build petals in three layers – Inner (2-3 small petals), middle (4-5 medium petals), and outer (5-6 large petals).
  • Make every petal different – Vary the size, angle, and curve. No two rose petals are identical.
  • Add dark shadows between petals – The spaces where petals overlap should be the darkest areas of your drawing.
  • Use curved edges only – Every petal edge should be wavy or curled. Never use straight lines for rose petals.
  • Let outer petals droop downward – Real rose petals bend and sag at the bottom, giving an open, blooming look.
  • Shade softly, avoid dark outlines – Blend your pencil strokes and fade petal edges instead of drawing harsh lines.

Frequently Asked Questions About Rose Drawing

Q1. Is drawing a rose difficult for beginners?
Ans: Yes, roses are harder than most flowers. But beginners can draw a simple rose by starting with a spiral and adding 2-3 layers of petals. With practice, anyone can learn.

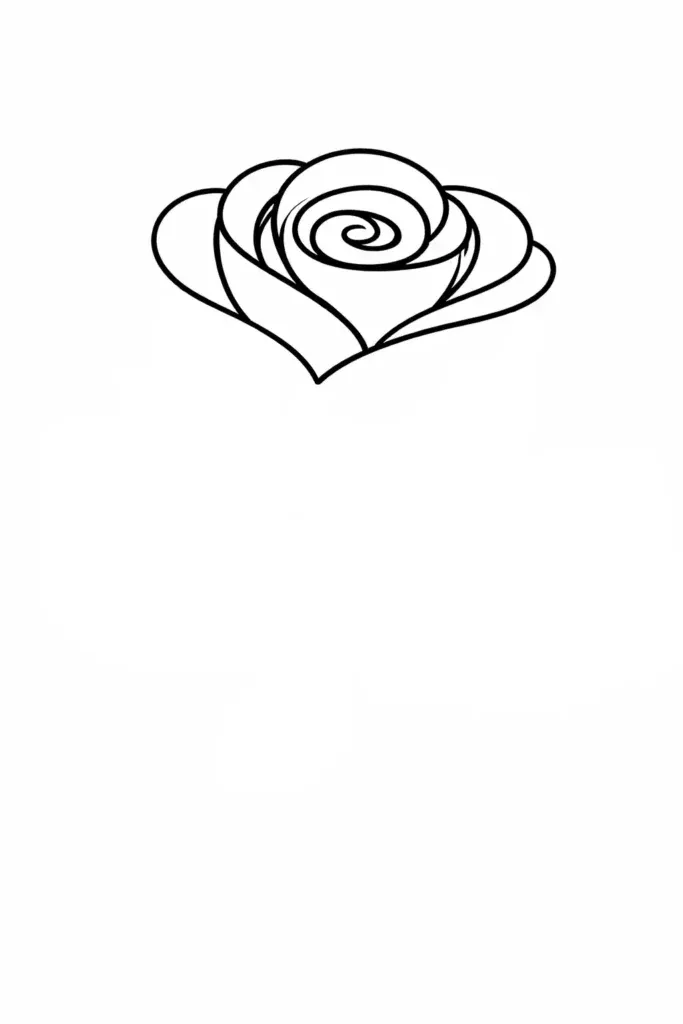
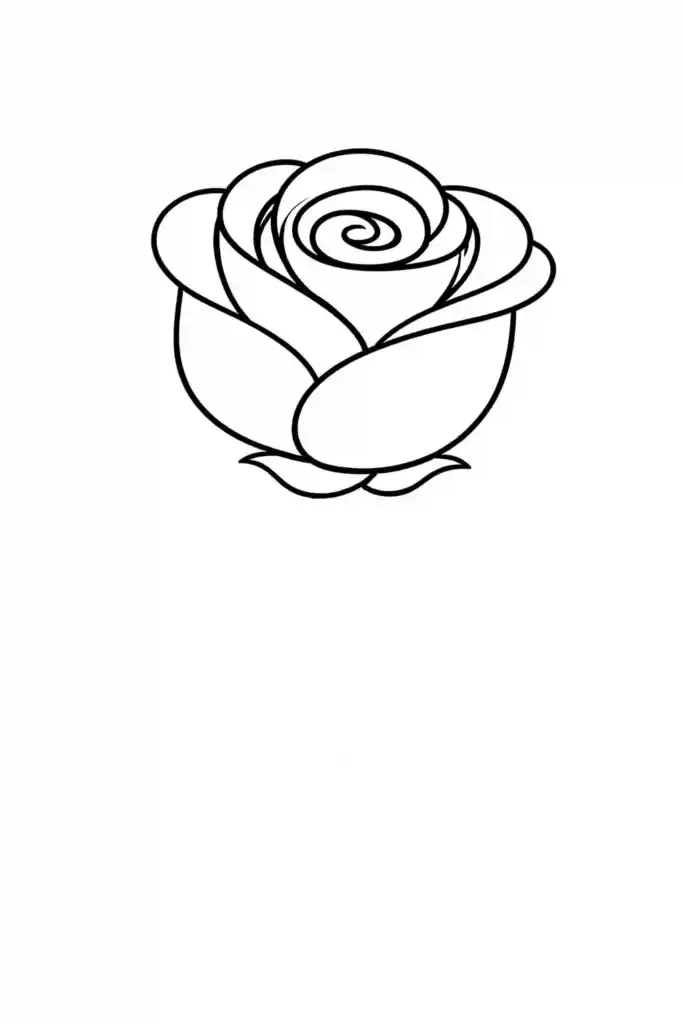
Q2. What is the easiest way to start a rose drawing?
Ans: Start with a small, uneven spiral in the center. This spiral becomes the tightly closed inner petals. Then gently build larger petals around it, one layer at a time.

Q3. How many layers should a good rose drawing have?
Ans: A good rose drawing has three layers:

  • Inner layer: 2-3 small petals
  • Middle layer: 4-5 medium petals
  • Outer layer: 5-6 large petals

Q4. Why does my rose look flat and boring?
Ans: Your rose looks flat because all the petals are the same size, and there are no shadows between them. Add dark gaps where petals overlap and vary the size of each petal.

Q5. Should I outline every rose petal?
Ans: No. Outlining every petal makes your rose look like a cartoon. Use soft shading and fade the edges instead of drawing harsh, dark lines.

Q6. What is the most common mistake when drawing roses?
Ans: Drawing all petals pointing upward. Real rose petals bend, curl, and droop. Outer petals should sag downward to give an open, blooming look.

Q7. Can I draw a rose with only a pencil?
Ans: Yes. A simple pencil is enough. Use light pressure for soft areas and press harder for dark shadows between petals. Blend with your finger for smooth shading.

Q8. How long does it take to draw a good rose?
Ans: A simple rose takes 10-15 minutes. A detailed, realistic rose with shading takes 20-30 minutes. Speed improves with practice.

Q9. What is the best reference for drawing roses?
Ans: A real rose photo is best. Looking at an actual image while drawing helps you see how petals curl, overlap, and droop. Your memory of a rose is often wrong.

Q10. How can I make my rose look more realistic?
Ans: Three things: dark shadows between petals, curved edges on every petal, and outer petals that droop downward. Master these three, and your rose will look real.

Learn how to draw simple and free step-by-step drawing tutorials for kids and beginners! On draweasyfun.com, you will learn how to draw animals, plants, objects, and popular cartoon characters with easy-to-follow instructions. So what are you waiting for! Check Out Now!

Scroll to Top