How to Draw a Snow Polar Bear – Easy Steps for Kids
This easy bear drawing tutorial is perfect for beginners and kids.
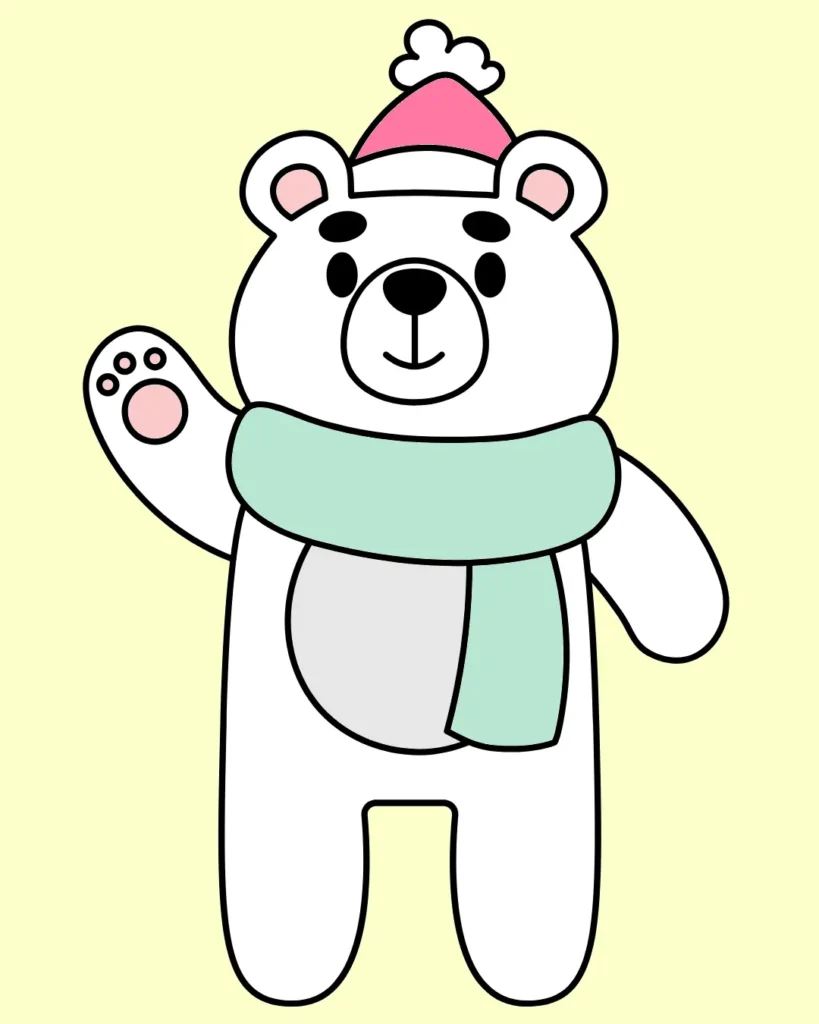
Follow each step carefully and you’ll create a super cute bear drawing wearing a winter hat and scarf — just like in the final image!
Difficulty Level: Easy
Time Needed: 45 Minutes
Material Needed:
- Pencil & Eraser – for sketching and fixing mistakes.
Drawing Paper – plain white or sketchbook page.
Colors – use crayons, color pencils, or markers.
Black Marker – to outline the Snow Polar Bear.
Sharpener – to keep your pencil ready.
Color to Use:
- Body: Pure White
- Scarf: Light Green
- Eyes, Nose , and Eyebrows: Black
- Hat: Pinkish Red
- Ears and Paw Pads: Pink
Fun & Interesting Facts About Bears for Kids
- Bears can walk like humans!
Sometimes they stand and walk on their back legs to see things better. - Bears love winter naps.
Many bears hibernate during winter, sleeping for months to save energy. - Under their white fur, polar bears have black skin.
This helps them stay warm in the cold Arctic weather. - A bear’s sense of smell is seven times better than a dog’s.
They can smell food from miles away! - Baby bears are called cubs, and they love to play, climb, and explore just like little kids.
If you want to learn more, Click Here: Polar Bear
Step-By-Step instructions for Polar Bear Drawing
the final result of our snow Polar bear drawing will look something like this:
Step 1: Start with the Head Shape
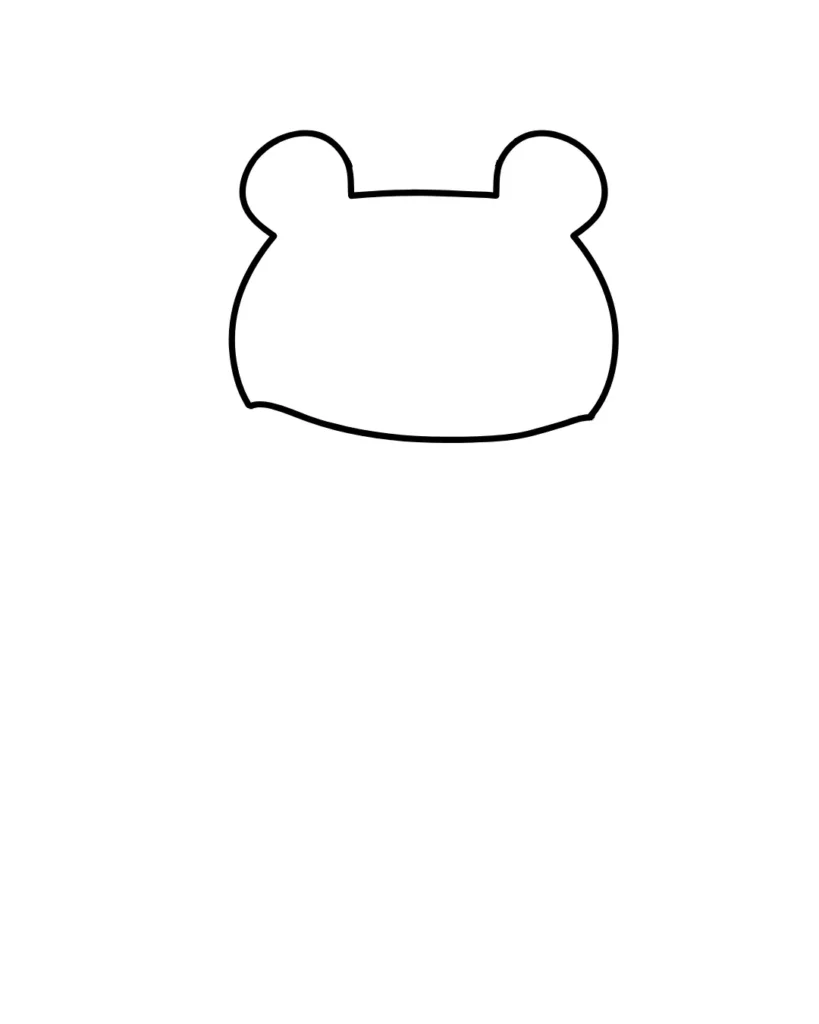
- Draw a rounded shape with two ear bumps on top.
- This makes the base of your polar bear’s head.
Step 2: Add the Winter Hat
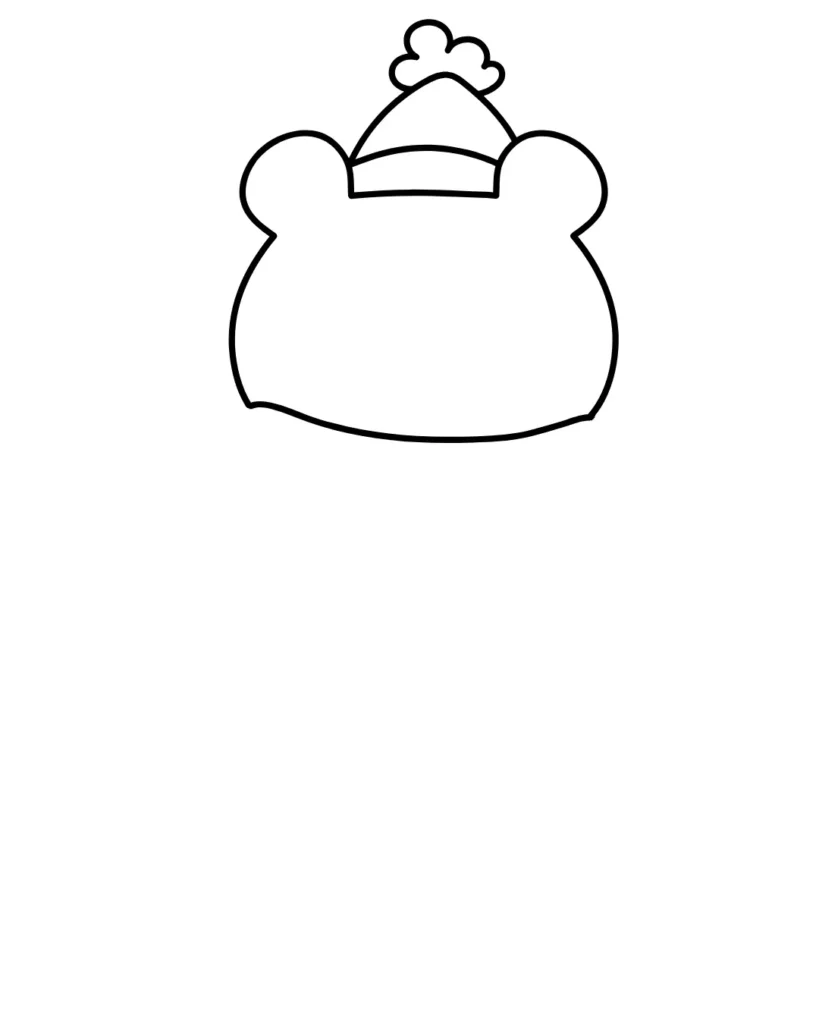
- Draw a curved hat on the head, along with a fluffy pom-pom at the top.
- This gives it a cozy winter look.
Step 3: Draw the Eyes and Eyebrows
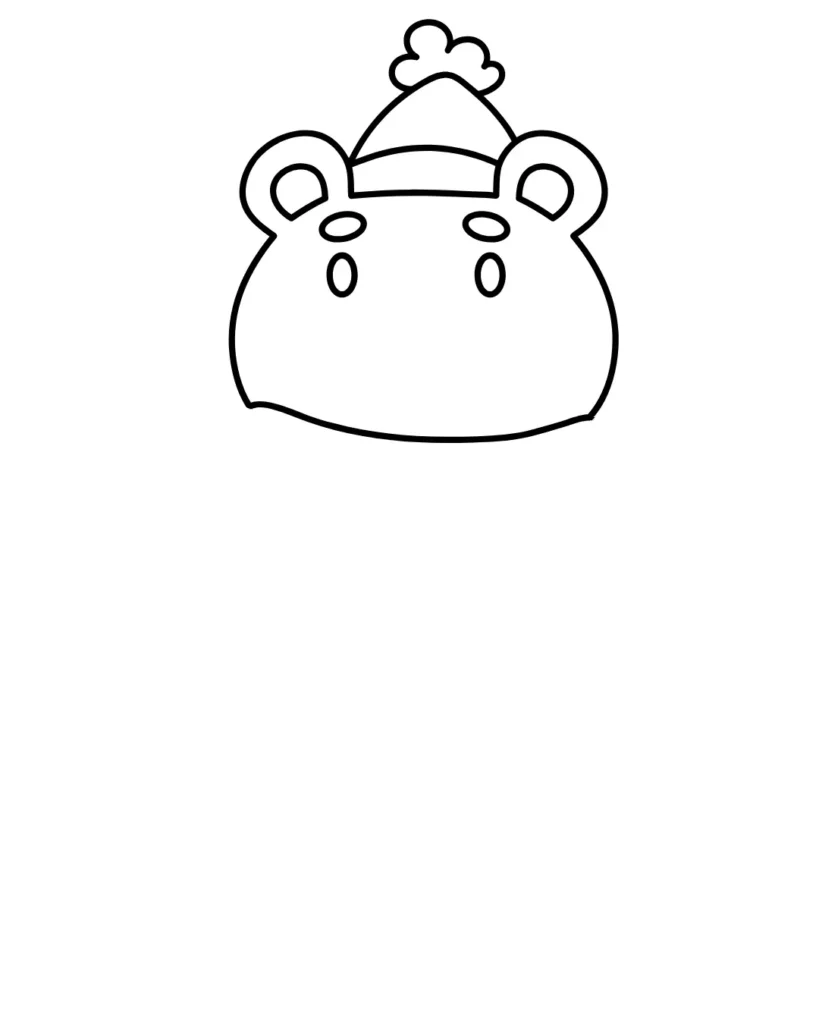
- Add two ovals for the eyes inside the face and small shapes for the eyebrows above them.
Step 4: Add the Muzzle and Nose
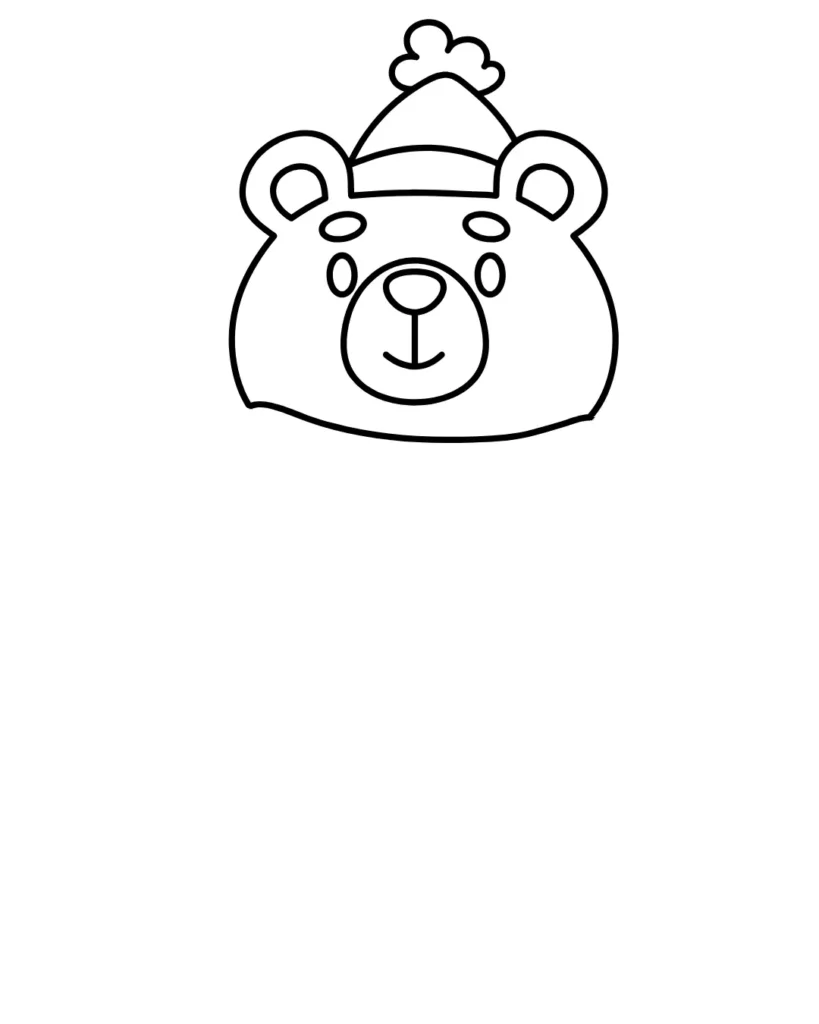
- Draw a large oval in the middle of the face, then add a nose and a small smiling mouth.
- Now your snow polar bear looks friendly and cute!
Step 5: Draw the Scarf
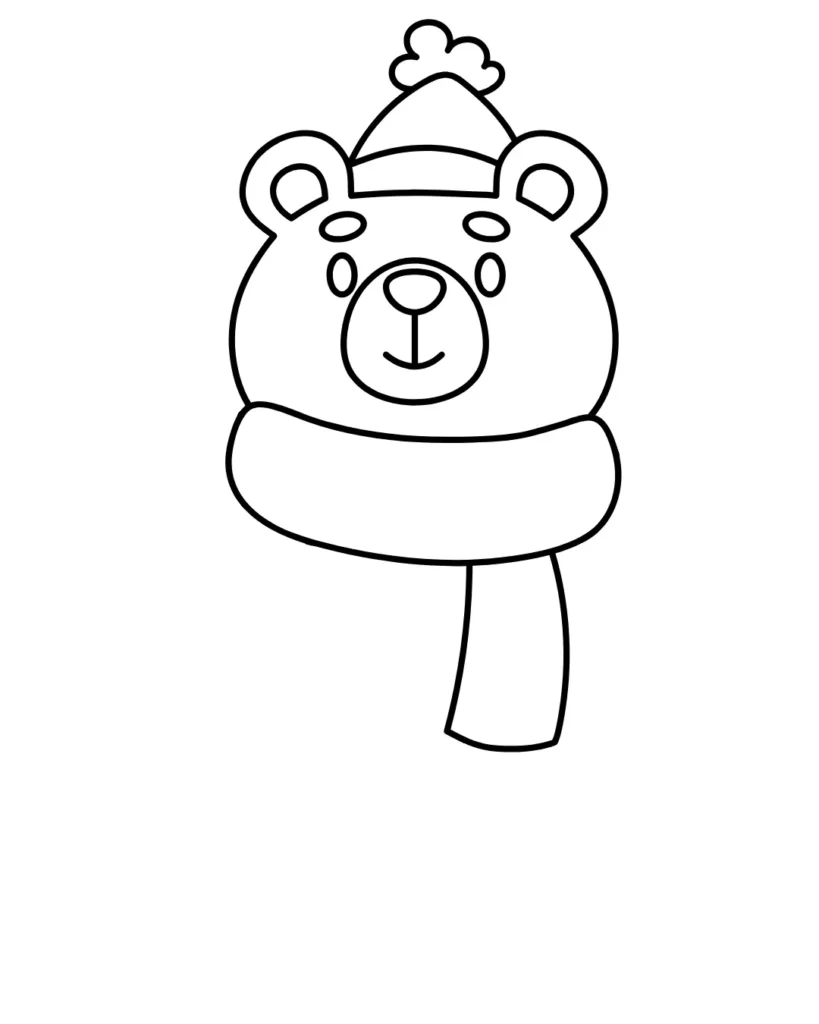
- Sketch a big, fluffy scarf wrapped around the bear’s neck.
- Add a long hanging part of the scarf on the side.
Step 6: Draw the Body
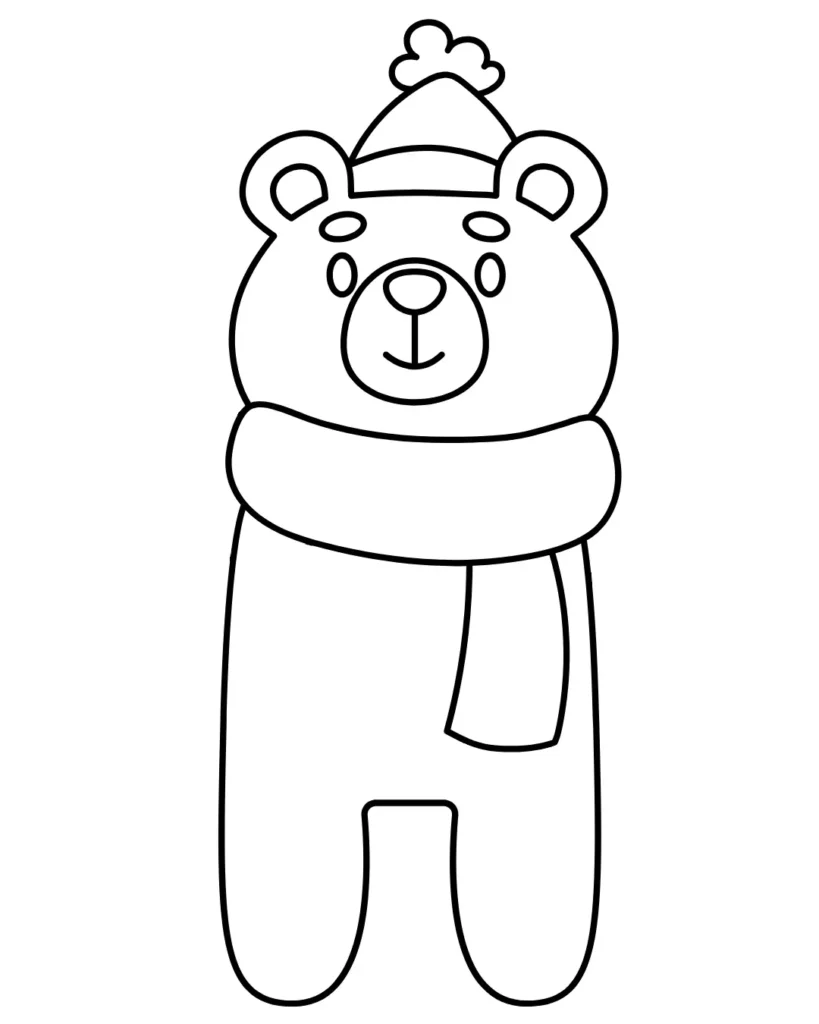
- Extend two long curved lines down from the scarf to create the bear’s body and legs.
- Keep the bottom rounded so it looks soft and cuddly.
Step 7: Draw the Right Arm
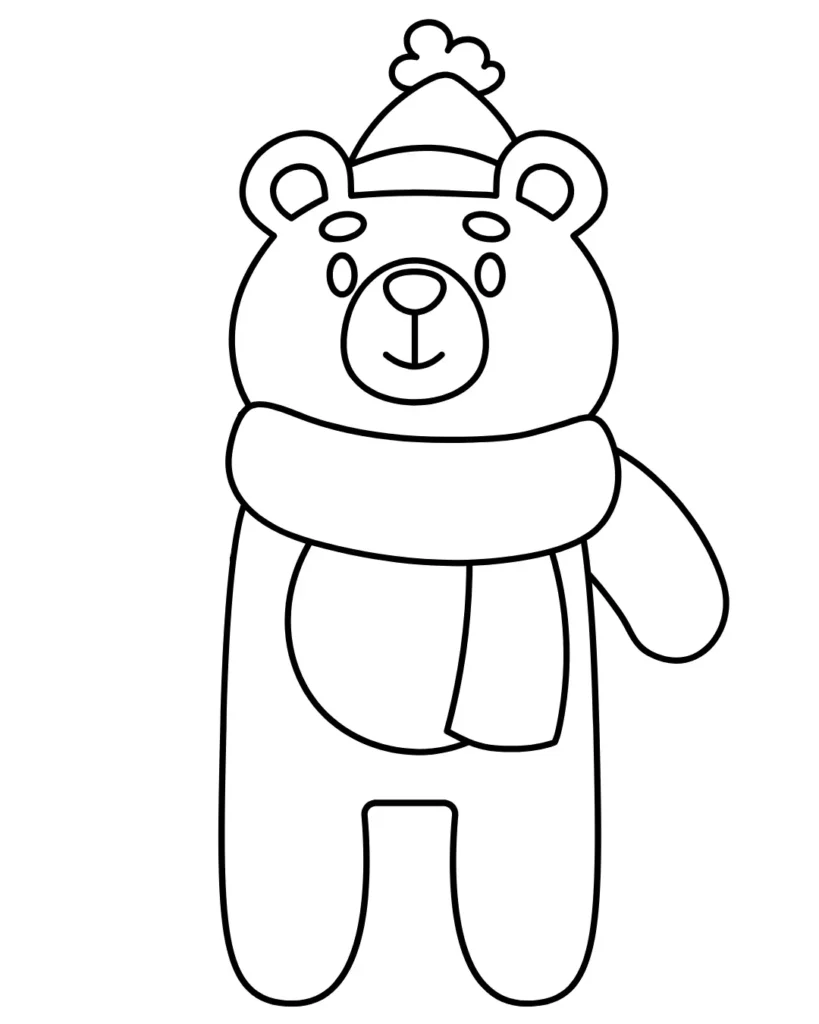
- Draw a simple curved arm on the right side of the body.
- Make it rounded and slightly bent downward, just like in the picture.
Step 8: Draw the Left Arm and Paw Details
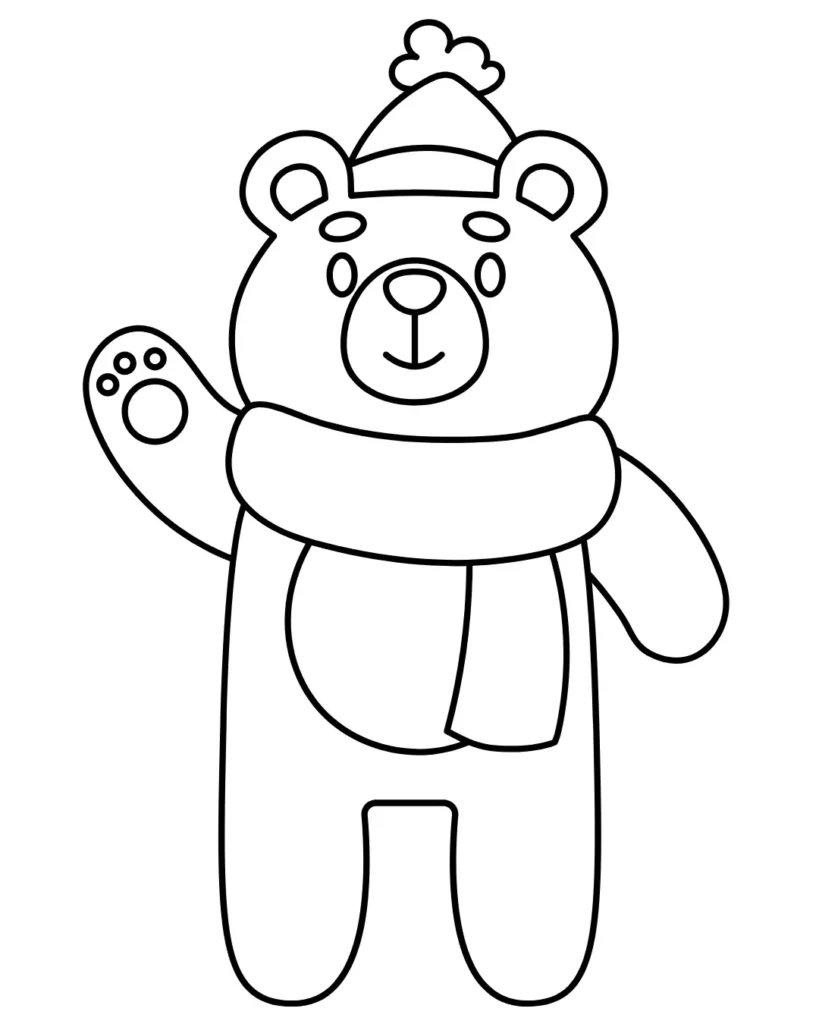
- Now draw the left arm raised like the bear is waving.
- Add a big circle for the paw and three small circles above it to make the cute paw pads.
Final Step: Color Your Snow Bear

- Fill the bear with soft winter colors — white, pink, mint, grey, or any colors you love.
- Your snow bear drawing is now complete and looks adorable!
Great Job!
Congratulations — you’ve just finished your Snow Polar Bear drawing! Each step built on the last to create something truly beautiful. Keep practicing, and you’ll be drawing Bear drawings with ease and confidence.
What to do next?
Our Popular Drawing!
Learn how to draw simple and free step-by-step drawing tutorials for kids and beginners! On draweasyfun.com, you will learn how to draw animals, plants, objects, and popular cartoon characters with easy-to-follow instructions. So what are you waiting for! Check Out Now!

