How to Draw Mickey Mouse Step by Step for Kids
Easy drawing for kids and beginners, Simple Mickey Mouse drawing step by step
Also, learn the History and some interesting facts about Mickey Mouse.
Difficulty Level: Easy
Time Needed: 30 Minutes
Material Needed:
- Pencil & Eraser – for sketching and fixing mistakes.
Drawing Paper – plain white or sketchbook page.
Colors – use crayons, color pencils, or markers.
Black Marker – to outline the Mickey Mouse.
Sharpener – to keep your pencil ready.
Color to Use:
Face: Light peach or Cream
Ears and Body Suit: Black
Pants: Red
Shoes: Black or Yellow
Buttons: Yellow or White
History of the Mickey Mouse
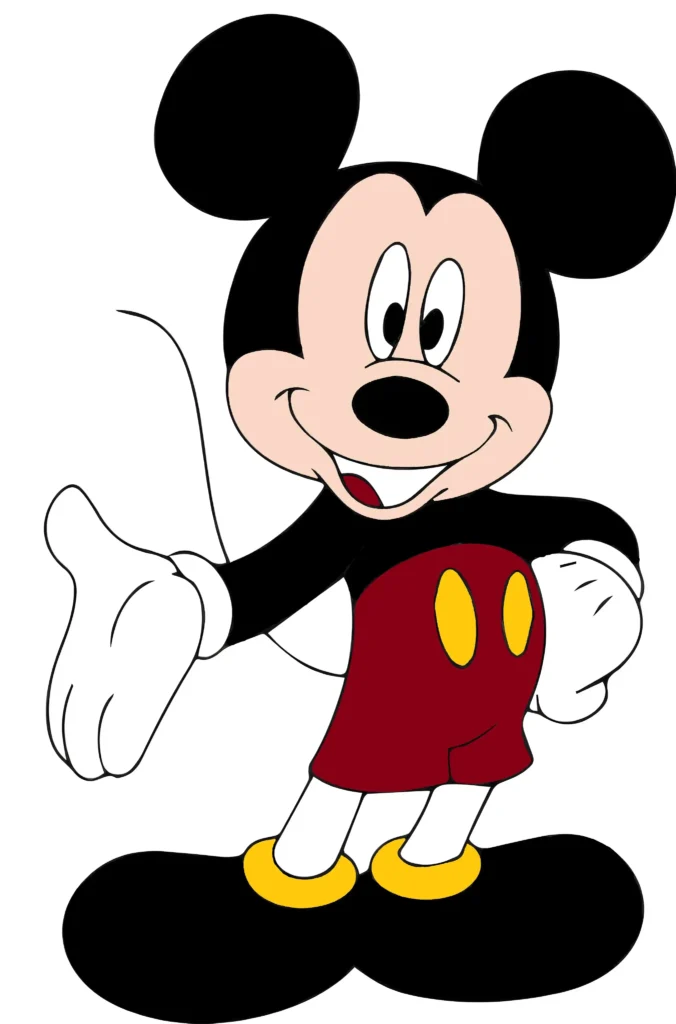
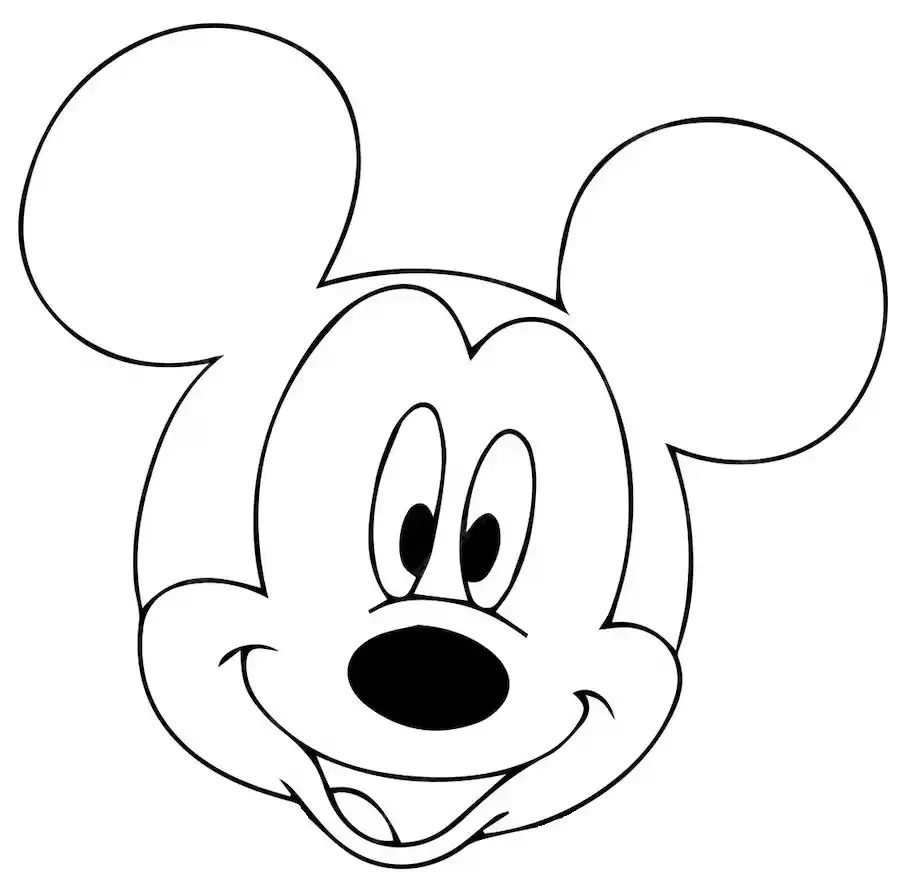
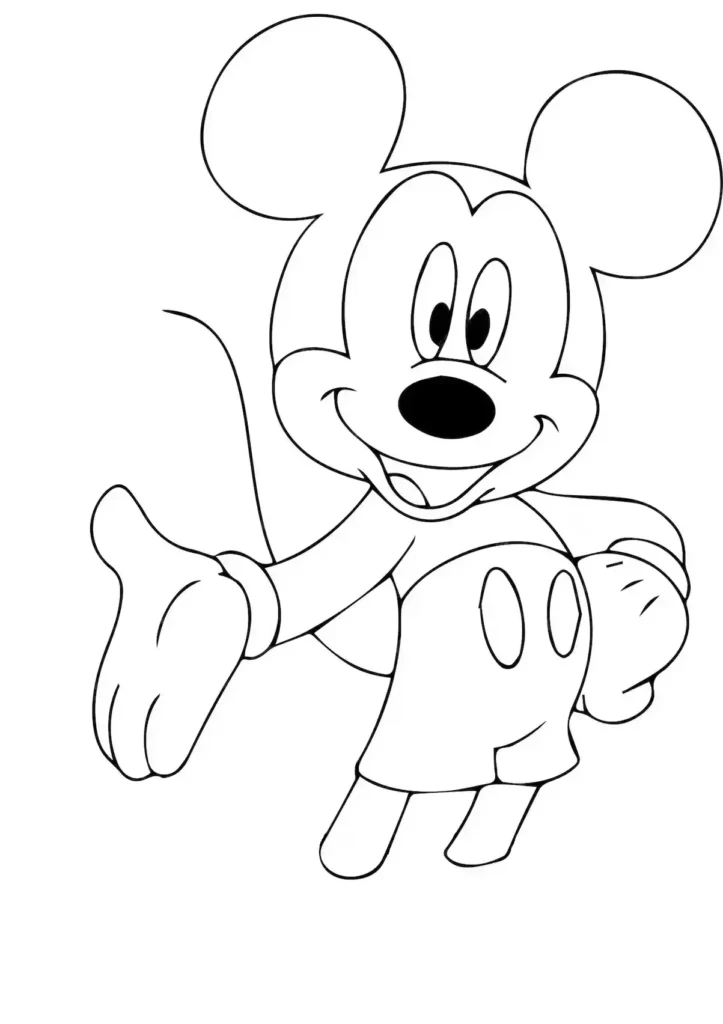
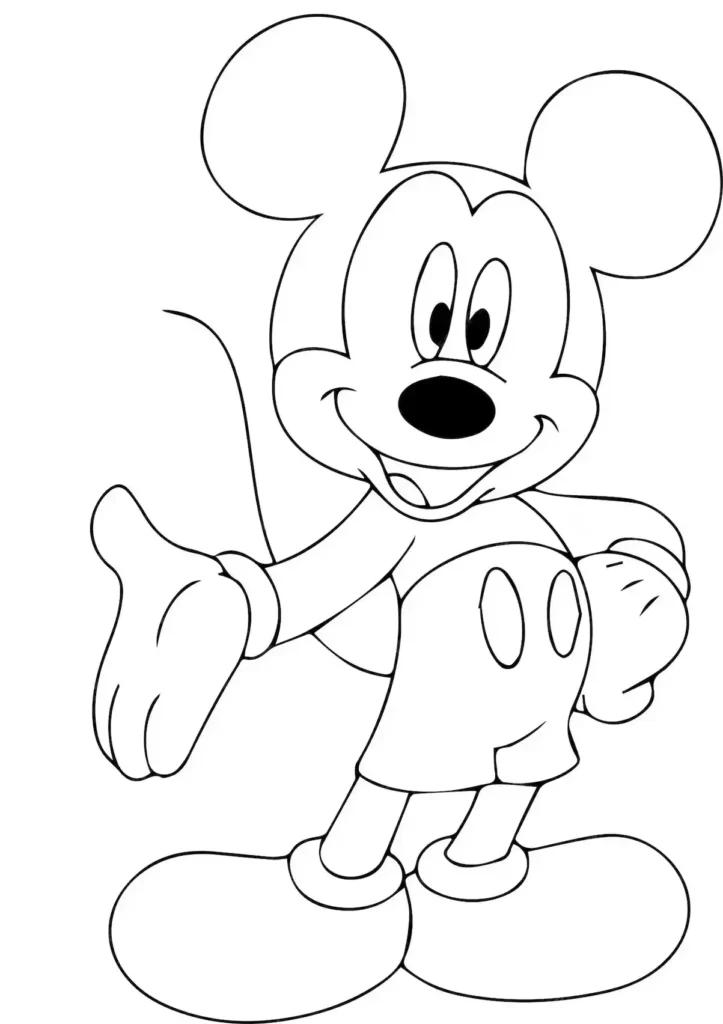
Mickey Mouse is a cartoon character from the Walt Disney Company. He was created in 1928,
Mickey was extremely popular in his time. Many other characters from his world also became well-loved, such as:
- Minnie Mouse (Mickey’s girlfriend)
- Donald Duck and Goofy (Mickey’s friends)
- Pluto (his pet dog)
Mickey was first known as “Mortimer Mouse”, but at the suggestion of Walt Disney’s wife, Lillian, his name changed to “Mickey Mouse”.
Interesting facts about Mickey Mouse
- Mickey Mouse was created to replace Oswald the Lucky Rabbit, and his inspiration came from silent-film stars such as Charlie Chaplin and Douglas Fairbanks.
- Mickey Mouse’s debut short was Plane Crazy on May 15, 1928 (it was a silent test film and did not succeed in getting wide distribution at first)
- Mickey’s first Oscar-winning short was Lend a Paw (in 1941).
- At first, Mickey’s pants were the same colour as his skin in the very early versions; then, when colour animation became common, his shorts became red.
- Mickey started as a mischievous, playful character, but as he became more popular, he gradually became more of a friendly, heroic figure.
Step-By-Step instructions to draw Mickey Mouse
the final result of our Mickey Mouse drawing will look something like this:

Step 1: Draw Mickey Mouse’s Head Outline

- Start your Mickey Mouse drawing by making a large circle for his head.
Next, draw two smaller circles on the top corners — these will be Mickey’s big round ears. - Make sure both ears are the same size and evenly placed.
If it helps, you can use a small bowl or round object to trace perfect circles.
Step 2: Draw the Inner Face Shape of Mickey Mouse

- Now that you have Mickey’s head and ears, it’s time to draw the inner face. Inside the big circle, draw a wide curved shape that looks a bit like a peanut or cloud.
This shape forms Mickey Mouse’s face area, where we’ll add his eyes, nose, and smile later. - Make sure the top of this shape touches just below the ears.
The bottom should be round and slightly pointed — that’s Mickey’s cheek and chin area.
Step 3: Draw Mickey Mouse’s Eyes

- Now let’s give Mickey his cute eyes! Inside the face area, draw two tall oval shapes right in the center.
These will be Mickey Mouse’s big, friendly eyes. - Make sure both ovals are close to each other but not touching.
Next, draw two smaller ovals inside them to create the pupils. Color the pupils black, leaving a tiny white spot to make his eyes look shiny and lively.
Step 4: Draw Mickey Mouse’s Nose

- Now it’s time to draw Mickey Mouse’s cute nose! Draw a circle in the center of his face just below his eyes.
Make the oval slightly tilted sideways — this gives Mickey a playful look. - Once the shape looks right, fill it in with black color using your pencil or marker.
Leave a tiny white spot at the top left corner of the nose to show a shiny reflection.
Step 5: Draw Mickey Mouse’s Mouth

- Now it’s time to make Mickey Mouse smile big and bright! Begin by drawing a curve just below his nose.
This line should go from one side of the face to the other — this forms Mickey’s happy smile. - Next, add another curved line below it to make his open mouth. Draw a little curve inside the mouth to show Mickey’s tongue.
Step 6: Draw Mickey Mouse’s Left Hand

- Now, let’s draw Mickey Mouse’s left hand. Start from the right side of his face and draw a curved arm going downward.
At the end of the arm, make a big, rounded glove shape — this is Mickey’s hand. - Add a little curve inside the glove to show the thumb.
Then, draw two or three short curved lines on the glove to mark the folds.
Step 7: Draw Mickey Mouse’s Right Hand

- Now, let’s draw Mickey Mouse’s right hand reaching out! From the left side of his body, draw a curved arm stretching outward.
At the end of the arm, sketch a big, open glove — Mickey’s right hand. - The glove should have four rounded fingers and a thumb. Make each finger soft and curved, just like a cartoon hand.
Add a small line at the wrist for the glove’s cuff and two curved lines inside the glove to show folds.
Step 8: Draw Mickey Mouse’s Pants

- You’re doing an amazing job — now let’s draw Mickey’s classic red pants! Start from below his tummy and draw a curved line for the waist.
Then, make two big curved shapes going down for the pant legs. Keep the pants short and wide — that’s Mickey’s famous style! - Next, add two small ovals on the front of the pants.
These are the shiny buttons that make Mickey’s outfit look super cool.
Step 9: Draw Mickey Mouse’s Legs

- Great job, artist! Now let’s draw Mickey Mouse’s legs to complete his body.
From the bottom of his pants, draw two slightly curved lines going downward. These will form Mickey’s short, round legs. - Each leg should be about the same size — not too long and not too thin.
Remember, Mickey has a chubby cartoon style, so keep the legs soft and curved.
Step 10: Draw Mickey Mouse’s Shoes

You’re almost done — great job, artist! Now it’s time to draw Mickey Mouse’s big shoes.
Start at the bottom of each leg and draw a large oval shape for each shoe.
Make the front of the shoes round and wide — that’s part of Mickey’s cute cartoon style! Add a small curve near the top of each shoe to show the edge where his pants meet the boots.
Step 11: Fill Color in Your Mickey Mouse drawing

Wow! You did it! Your Mickey Mouse drawing is now full of color!
Great job, young artist! Keep practicing and try drawing more of your favorite cartoon characters next.
Remember — every drawing you make brings you one step closer to becoming a real artist!
Great Job!
Congratulations — you’ve just finished your Mickey Mouse drawing! Each step built on the last to create something truly beautiful. Keep practicing, and you’ll be drawing cartoons with ease and confidence.
What to do next!
Learn how to draw simple and free step-by-step drawing tutorials for kids and beginners! On draweasyfun.com, you will learn how to draw animals, plants, objects, and popular cartoon characters with easy-to-follow instructions. So what are you waiting for! Check Out Now!
