How to Draw a Cute Cat drawing for kids
Easy drawing for kids and beginners, Simple Cute Cat Drawing step by step
Difficulty Level: Easy
Time Needed: 30 Minutes
Material Needed:
- Pencil & Eraser – for sketching and fixing mistakes.
Drawing Paper – plain white or sketchbook page.
Colors – use crayons, color pencils, or markers.
Black Marker – to outline the Cat.
Sharpener – to keep your pencil ready.
Color to Use:
- Fur base: white.
- Patches: medium gray.
- Cheeks and nose: soft pink.
- Tail patches: the same gray as the head patches.
Fun Facts About Cats
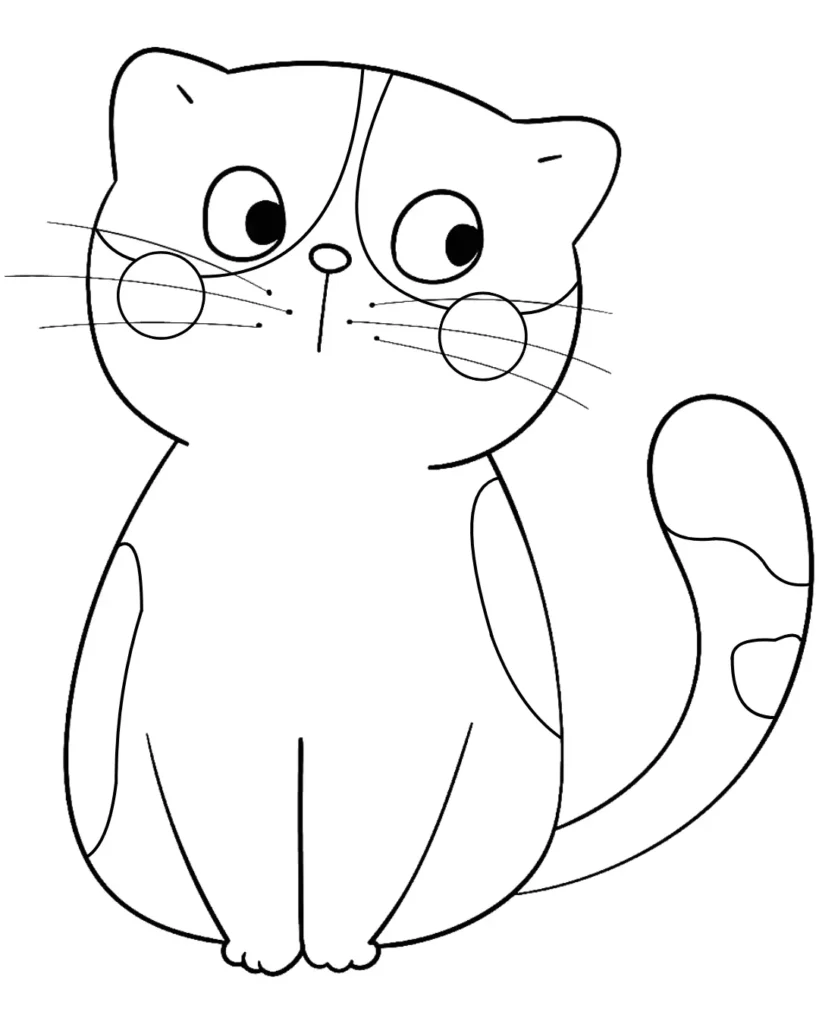
Cats are cute, curious, and full of surprises! They have been our furry friends for a very long time.
Let’s learn some fun things about them:
- Old Friends: People have kept cats as pets for almost 10,000 years. They helped farmers by catching mice and keeping food safe.
- Night Vision: Cats can see very well in the dark — much better than humans can!
- Happy Purring: When a cat purrs, it usually means it’s happy. But sometimes, cats purr to help themselves feel calm, too.
- Super Jumpers: A cat can jump up to six times as high as its body!
- Smart Whiskers: Cats use their whiskers to feel their surroundings and check whether they can fit through tight spaces.
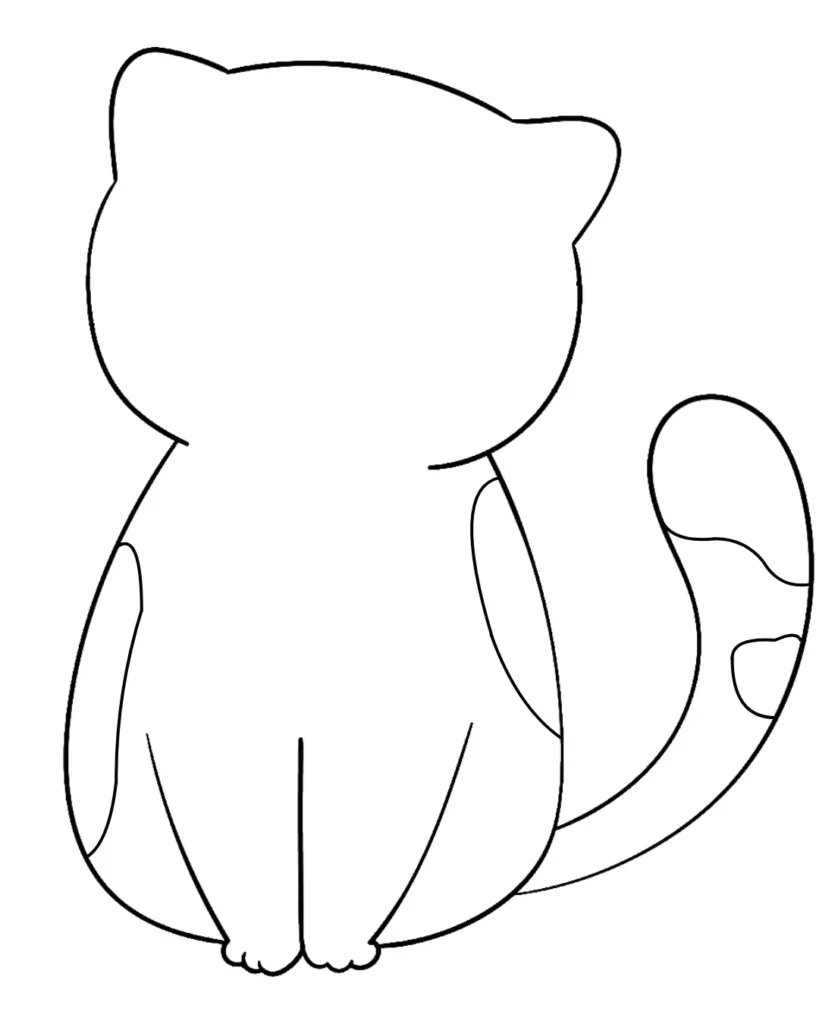
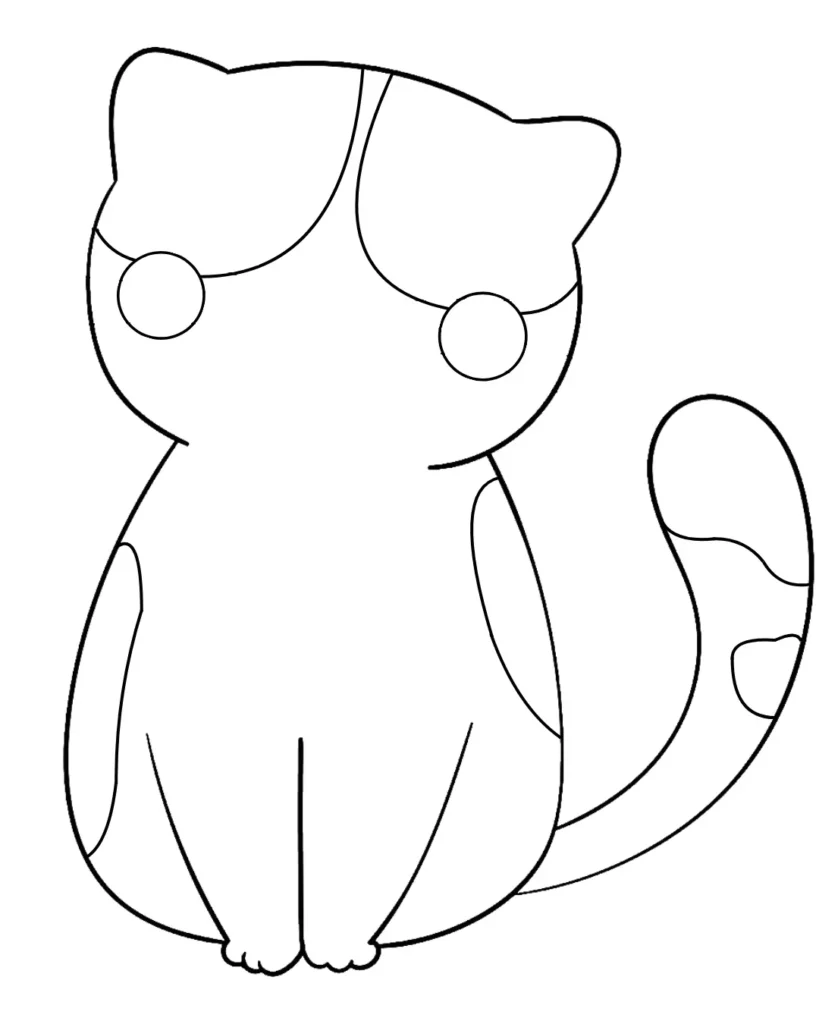
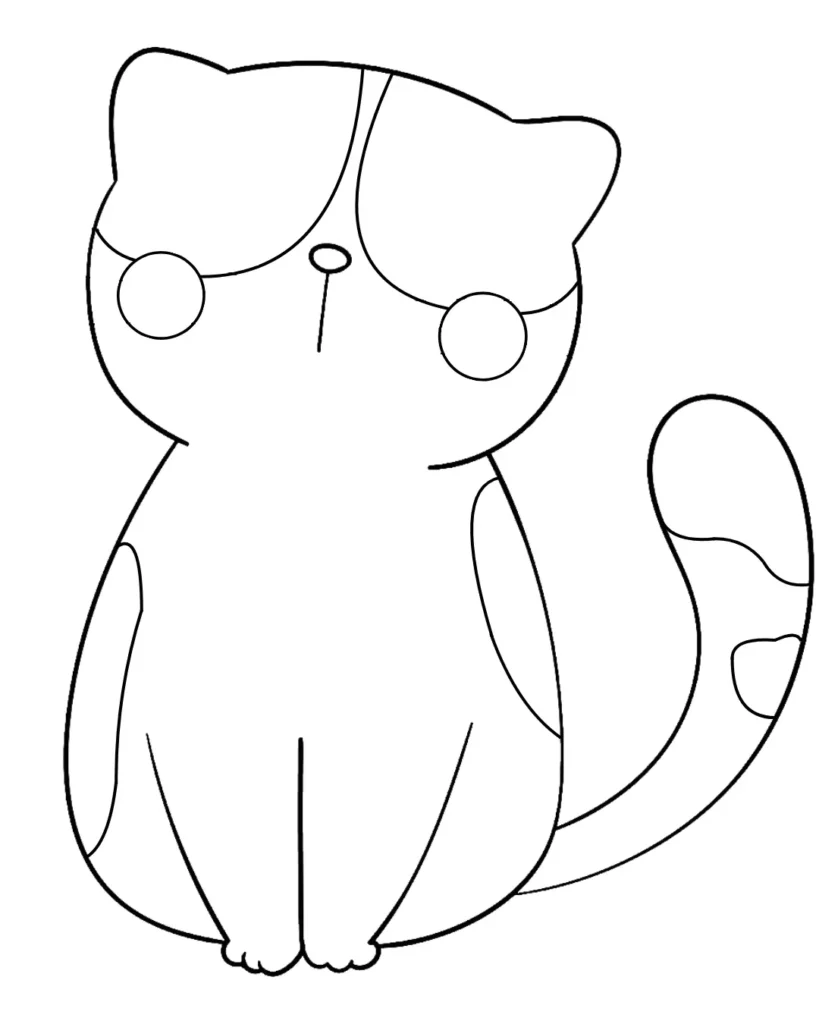
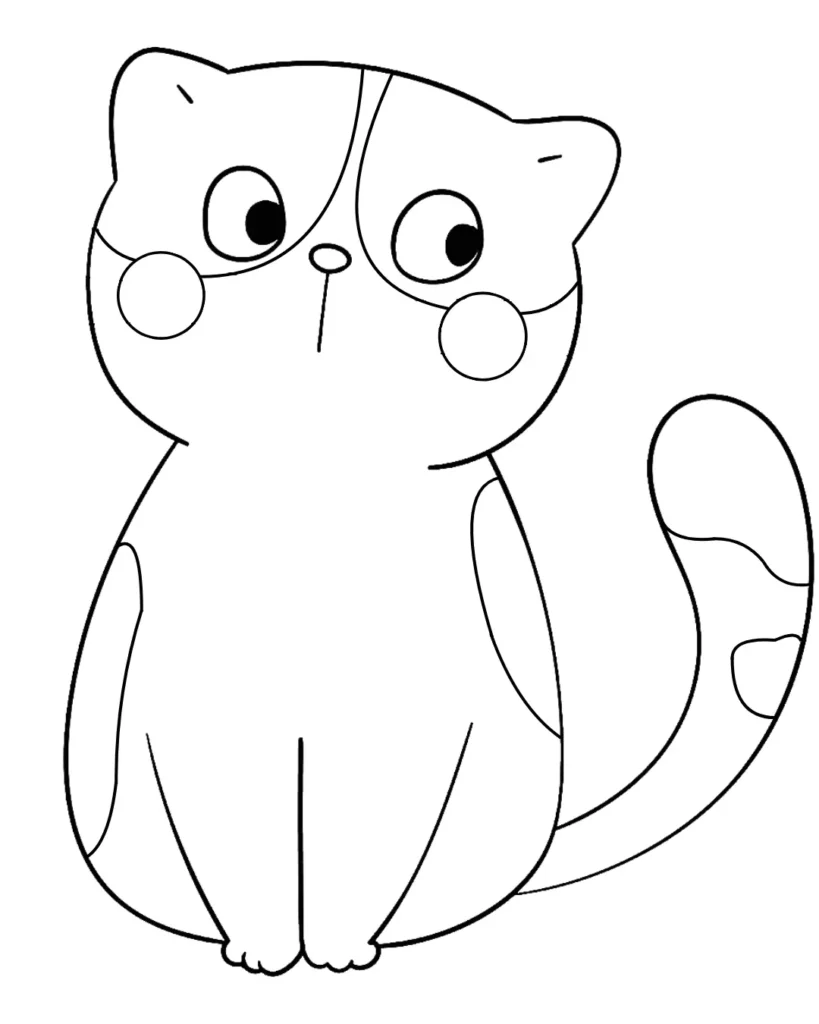
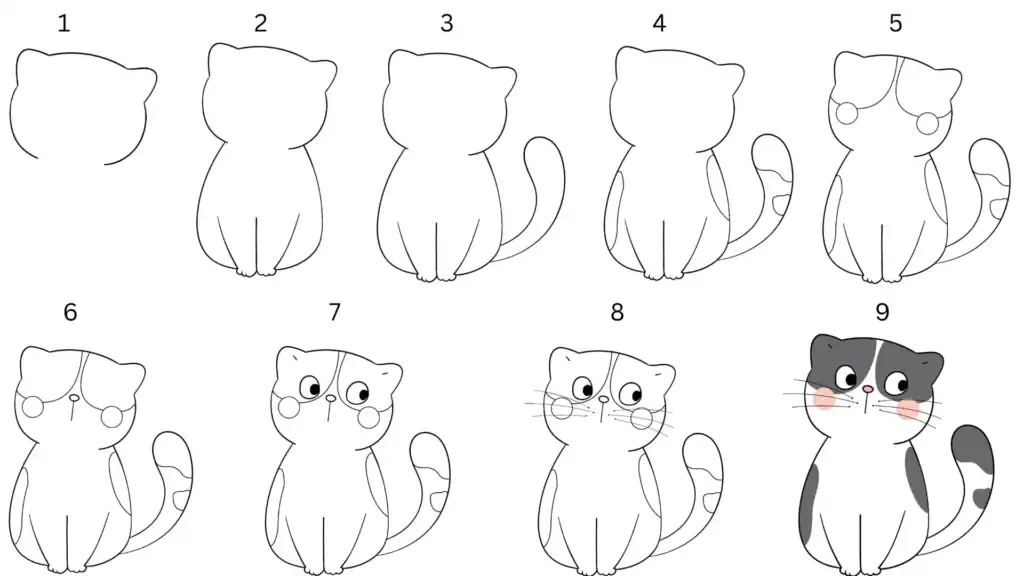
Cats are playful, smart, and super fun to draw. Now that you’ve finished your drawing, you know a few cool facts about them, too!
If you want to learn more about Cats, Click Here: Cats
Step-By-Step instructions for Cute Cat drawing
the final result of our Cute Cat drawing will look something like this:

Step 1: Outline the head and ears

- Start by drawing a rounded shape for the cat’s head.
- Next, add two small pointy ears on top — one on each side. Leave a small space at the bottom for the neck.
Step 2: Add the body and front paws

- Now, draw two curved lines that go downward from the head.
- Connect them to form a pear-shaped body. Then, add two straight lines in the center for the front legs. Finally, draw tiny bumps at the bottom to make the paws.
- As a result, your cat’s body will start to take shape.
Step 3: Draw the tail

- Next, move to the right side of the body.
- Sketch a long curved tail that bends upward in a soft “S” shape. Make sure it looks fluffy and thick.
- This simple curve adds balance and cuteness to your drawing.
Step 4: Mark the fur patches

- After that, sketch a few patch shapes on the cat’s body and tail. Add one on each side of the body and a couple more on the tail.
- These patches will give your cat a playful look once you color it in.
Step 5: Place the face guides

- Then, draw two soft circles on the face for the cheeks. Sketch curved lines across the forehead to mark the fur pattern.
- These simple guides will help you place the eyes and nose correctly later on.
Step 6: Nose and mouth

- Now, draw a tiny oval in the middle of the face for the nose.
- From there, draw a short line down and a small “V” shape for the mouth.
Step 7: Eyes and ear details

- Next, add two large eyes below the forehead line. Inside each eye, draw a smaller circle for the pupils.
- Make the pupils slightly off-center so the cat appears curious.
Step 8: Whiskers and dots

- After finishing the eyes, draw three tiny dots on each cheek. From each dot, extend three long whiskers outward.
Step 9: Outline and color (final)

Ink the final lines and erase pencil marks. Color suggestions:
Fur base: white.
Patches: medium gray.
Cheeks and nose: soft pink.
Tail patches: the same gray as the head patches.
Great Job!
Congratulations — you’ve just finished your Sitting Cat drawing! Each step built on the last to create something truly beautiful. Keep practicing, and you’ll be drawing cats with ease and confidence.
What to do next?
Our Popular Drawing!
Learn how to draw simple and free step-by-step drawing tutorials for kids and beginners! On draweasyfun.com, you will learn how to draw animals, plants, objects, and popular cartoon characters with easy-to-follow instructions. So what are you waiting for! Check Out Now!
