How to draw an easy Bird drawing for kids
Easy drawing for kids and beginners, Simple Cute Bird Drawing step by step
Difficulty Level: Easy
Time Needed: 30 Minutes
Material Needed:
- Pencil & Eraser – for sketching and fixing mistakes.
Drawing Paper – plain white or sketchbook page.
Colors – use crayons, color pencils, or markers.
Black Marker – to outline the Bird.
Sharpener – to keep your pencil ready.
Color to Use:
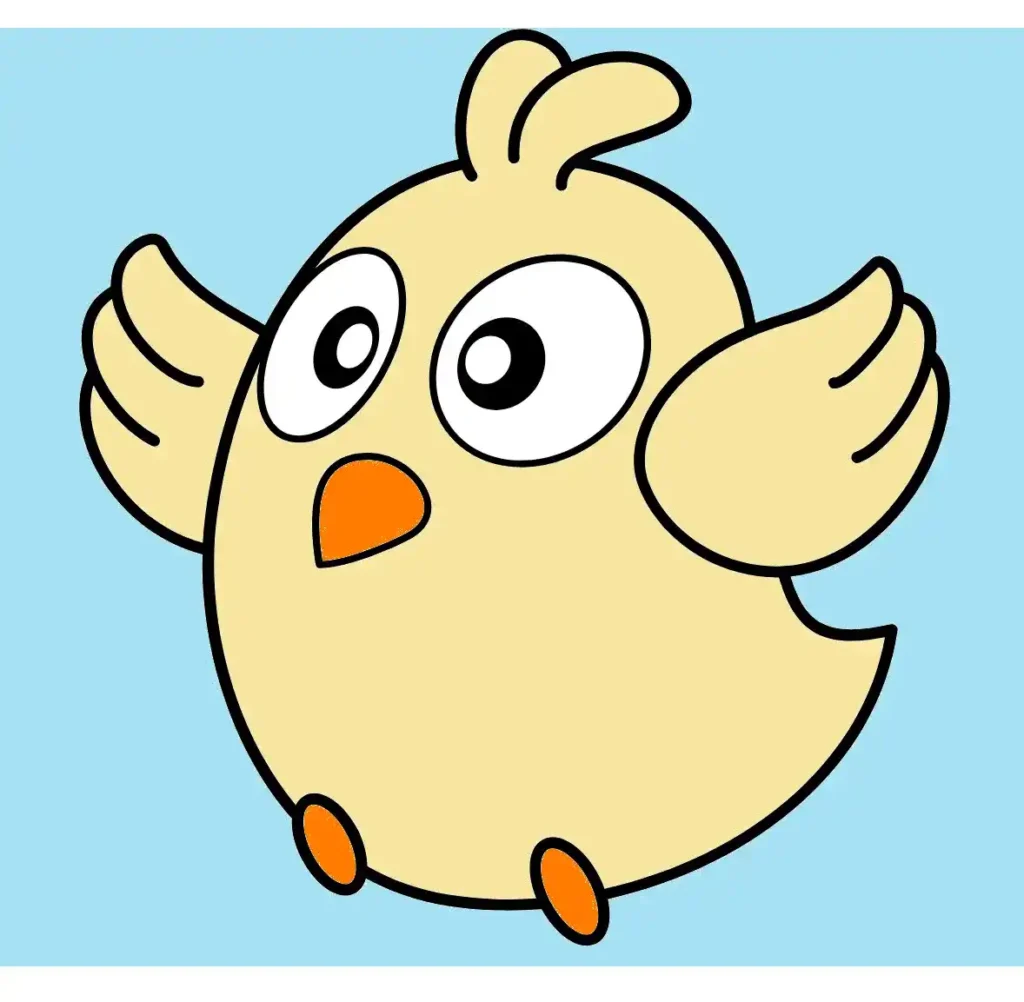
Body: Yellow
Wings and top feathers: Yellow
Beak and feet: Orange
Eyes: Black with a white highlight
Interesting Facts About Birds for Kids
Birds are amazing animals that can fly high in the sky.
They come in many shapes, sizes, and colors. Here are some fun facts you’ll love:
- Feathery Friends: Birds are the only animals that have feathers. Feathers help them fly and keep them warm.
- Long Travelers: Some birds, like the Arctic Tern, travel thousands of miles every year. That’s like flying around the world!
- Clever Creatures: Birds such as parrots and crows are very smart. Some can even talk or copy sounds they hear.
- Light but Strong: Bird bones are hollow. That makes them light enough to fly but still strong.
- Many Kinds: There are over 10,000 types of birds in the world — from tiny hummingbirds to giant eagles.
Birds make our world colorful and cheerful, just like your drawing!
Step-By-Step instructions for Easy Bird Drawing
the final result of our easy Bird drawing will look something like this:
Step 1: Draw the Body Shape
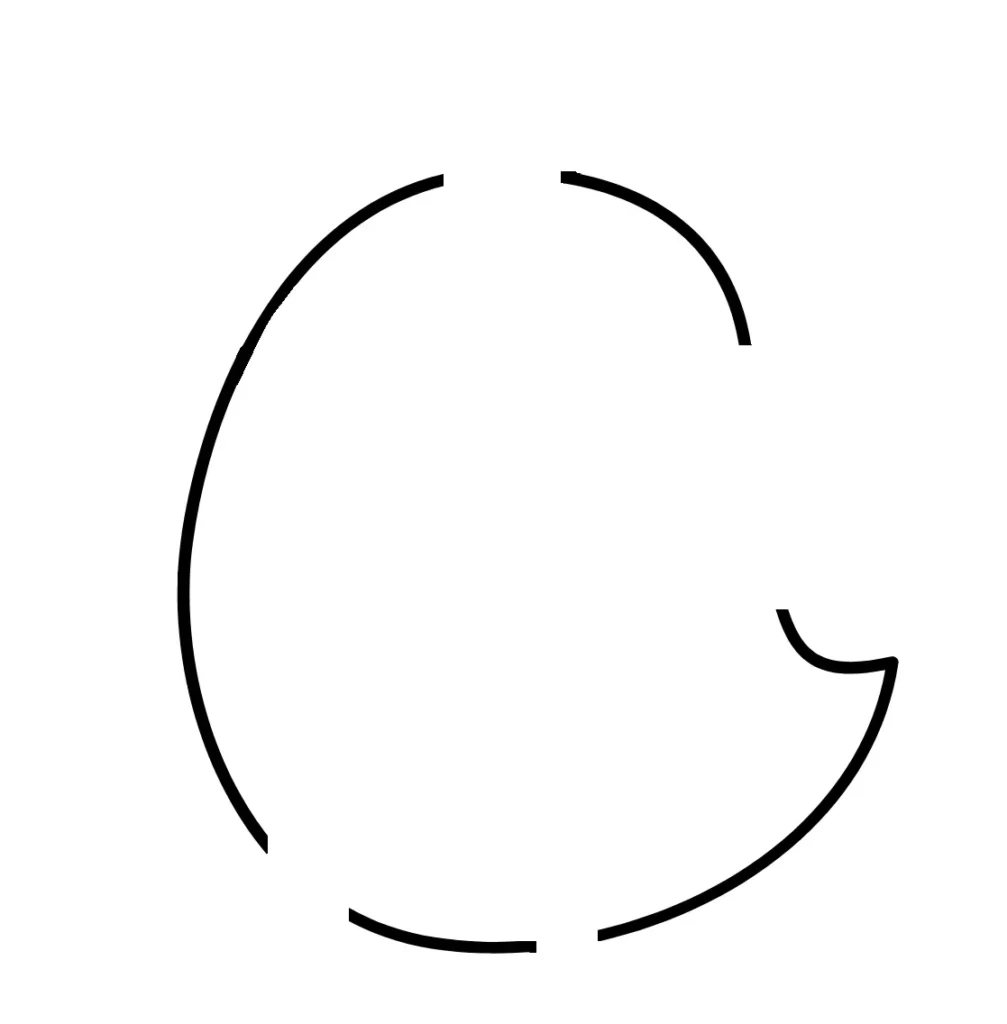
- Start by sketching a big oval shape that tilts a bit to the side.
- This will form the main body of your bird. Keep it smooth and round to make your bird look soft and cute.
Step 2: Add the Feet
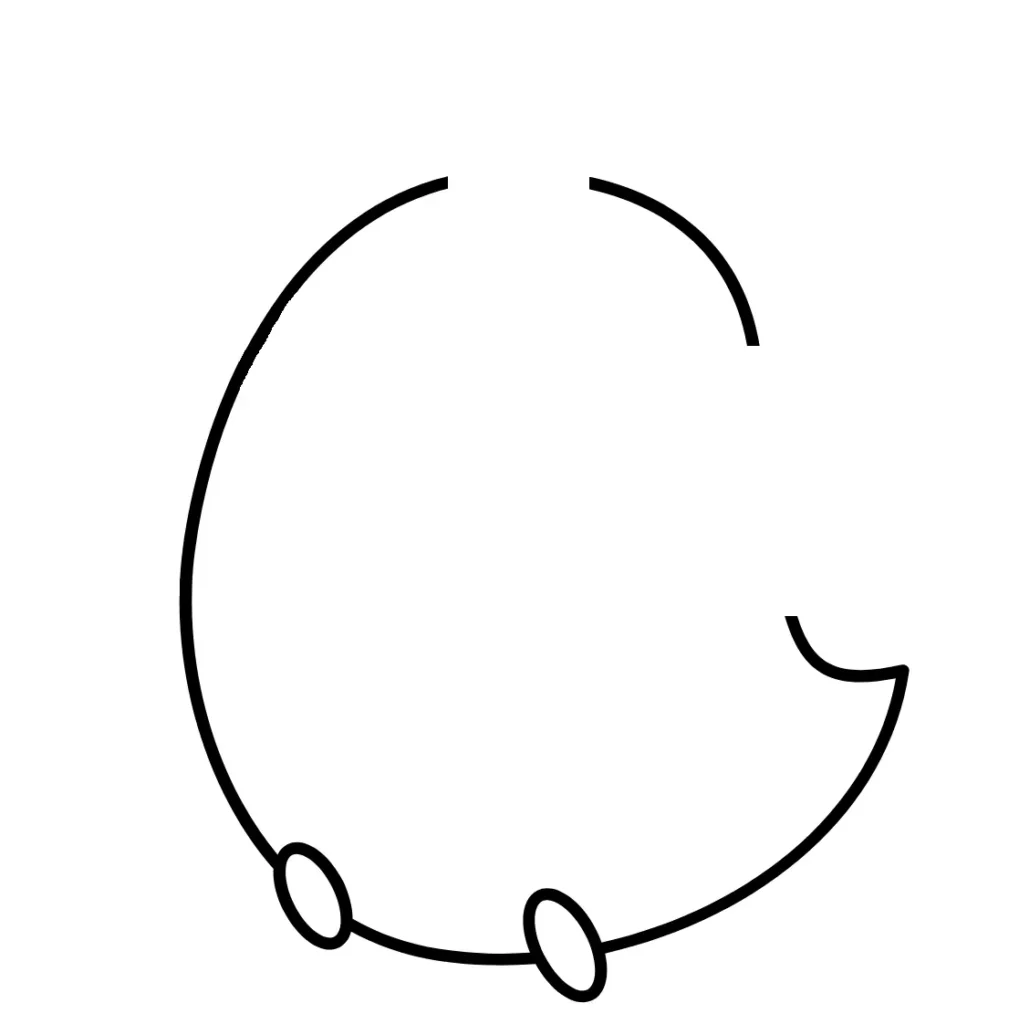
- Next, draw two small oval shapes at the bottom of the body.
- These ovals will be the bird’s tiny feet. Make sure they’re spaced, so your bird looks balanced.
- As a result, your bird will begin to take a stable form on the page.
Step 3: Draw the Feathers on Top
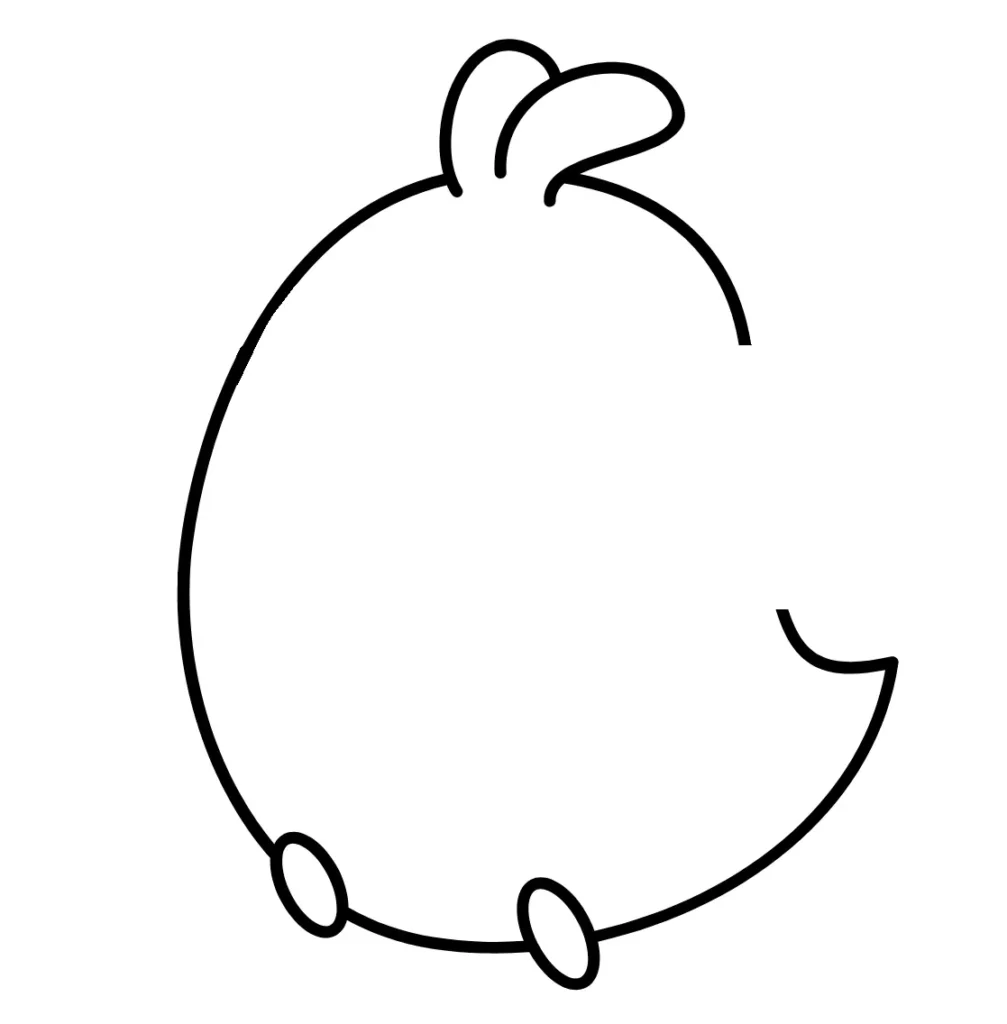
- Next, add two small curves on top of the head.
- These shapes represent the bird’s top feathers. They’ll make your bird look more lively and playful.
- Then, smooth the feather tops to connect them with the body.
Step 4: Add the Wings
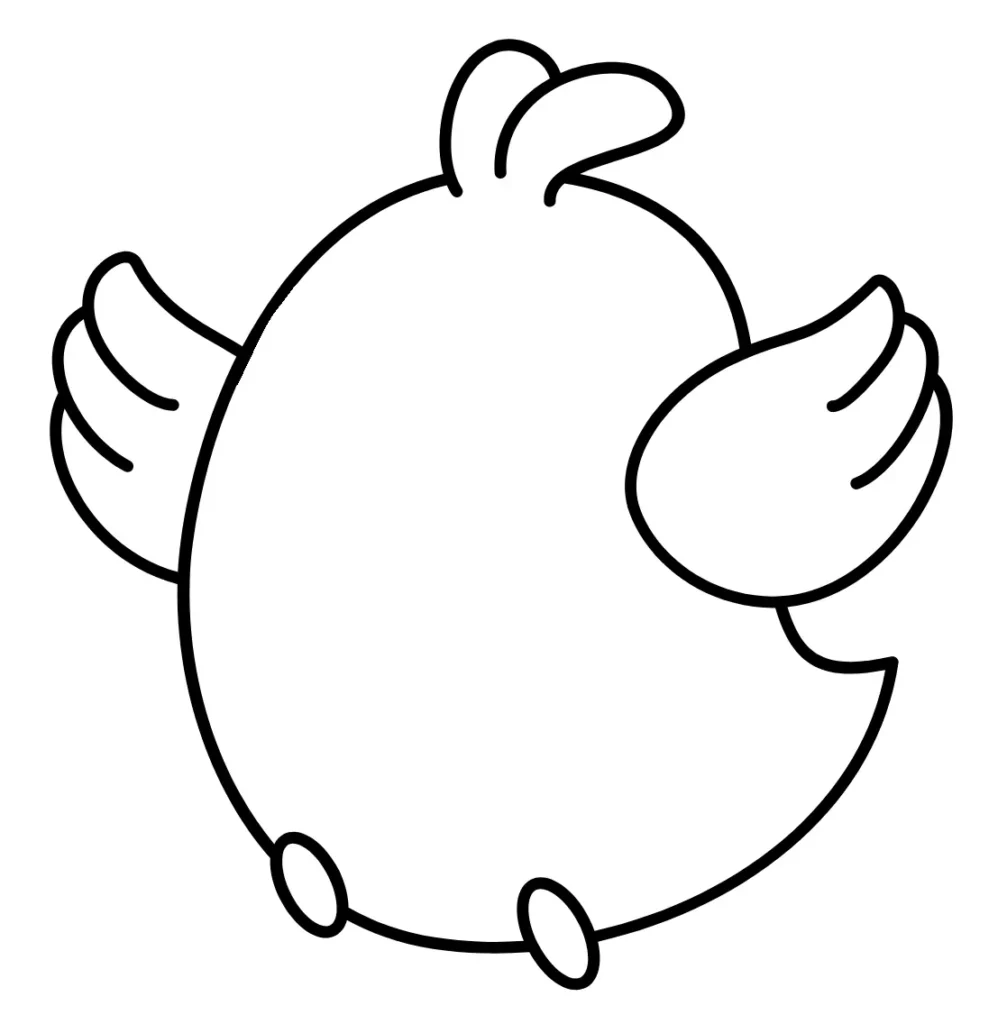
- After finishing the top feathers, it’s time to draw the wings.
- On each side of the body, sketch large leaf-like shapes. Inside each wing, add two or three short curves to show the feathers.
Step 5: Draw the Eyes
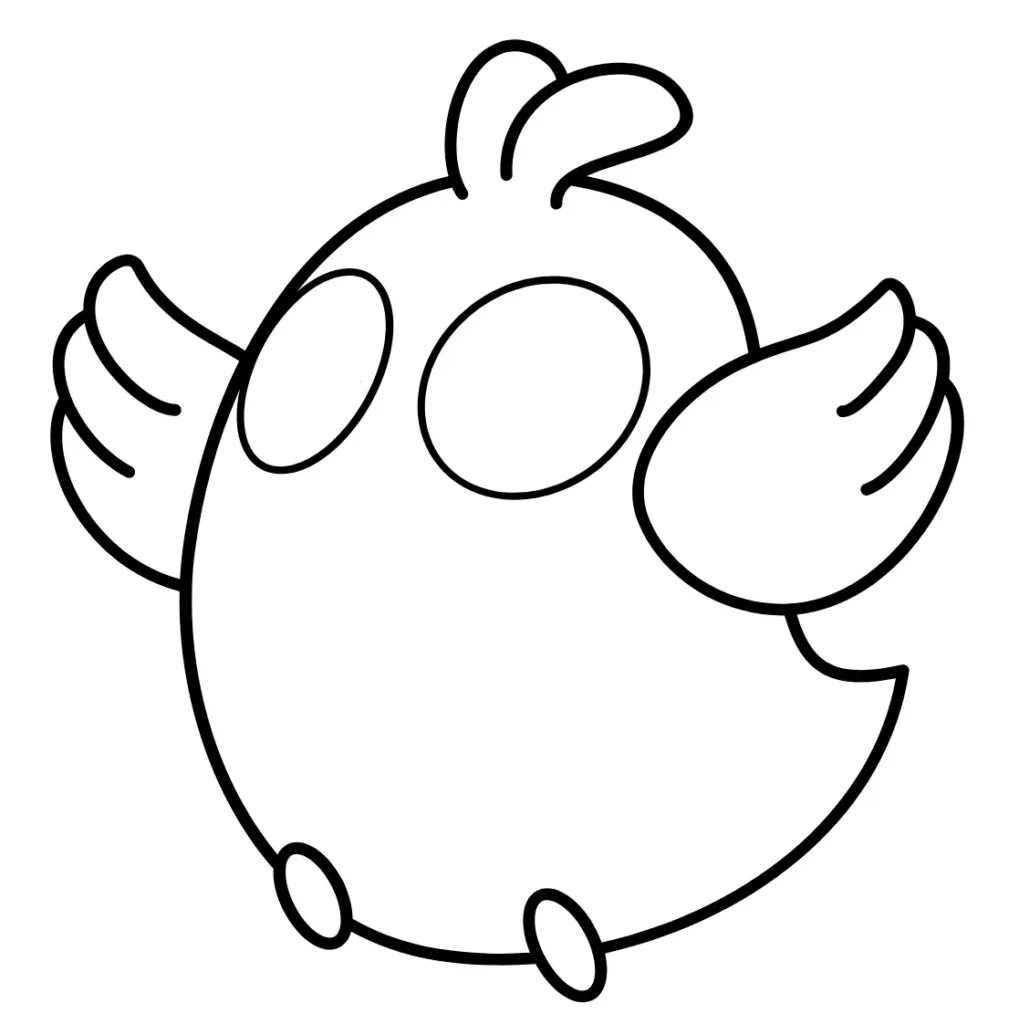
- Next, draw two big oval eyes near the upper part of the body.
- Put one above the other to give it a fun look, cute look. Keep them large — this gives your bird more identity.
Step 6: Add the Beak
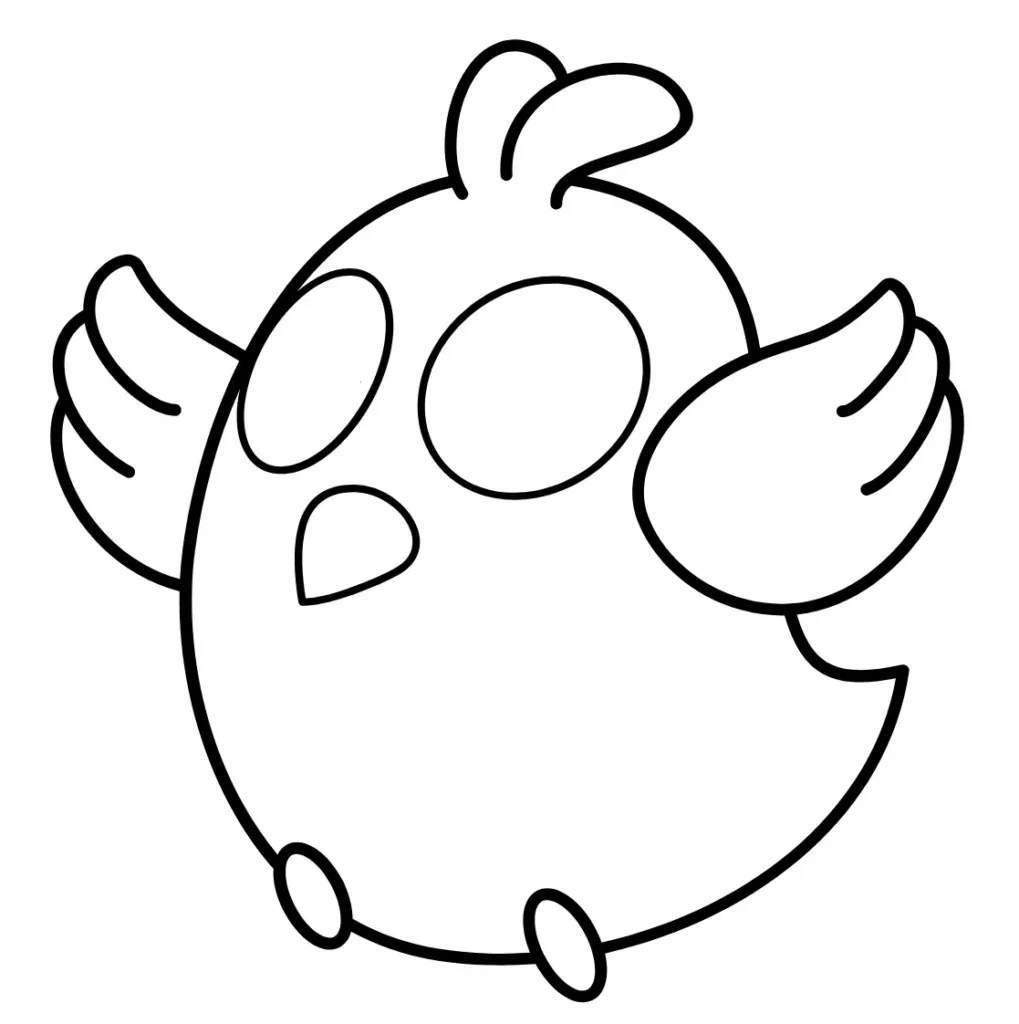
- At this stage, between the eyes, sketch a small triangle-like shape for the beak.
- Give the edges a soft curve to make it look friendly.
- After that, check that the beak points outward in a natural direction.
Step 7: Add the Pupils
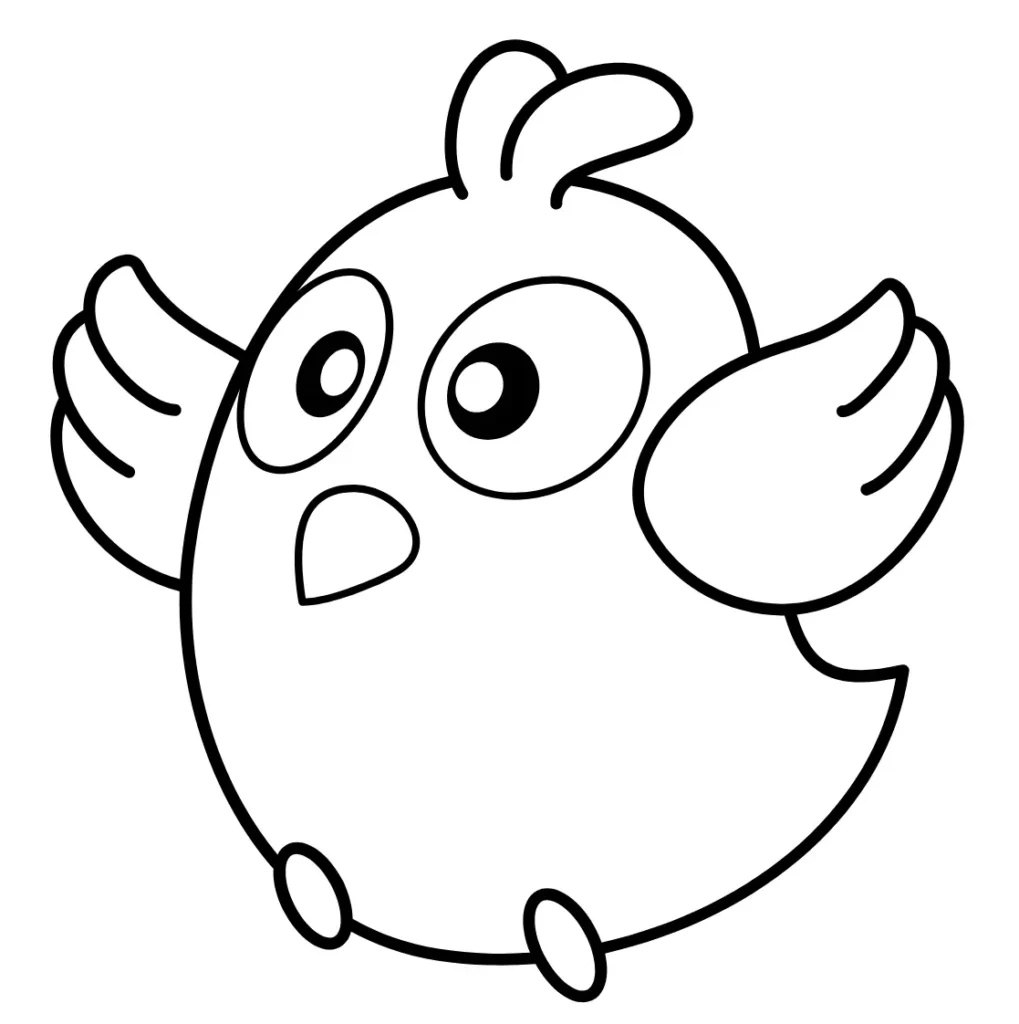
- Then, inside each eye, draw a smaller oval and fill it in to create the pupils.
- Leave a small white circle inside each pupil to make the eyes sparkle.
Step 8: Outline and Refine

- Once your sketch looks good, go over it with a darker pen or marker.
- Neaten your drawing by removing the extra lines.
- Make sure all curves look smooth and connected.In the end, your bird outline is ready for coloring.
Great Job!
Congratulations — you’ve just finished your Bird drawing! Each step built on the last to create something truly beautiful. Keep practicing, and you’ll be drawing birds with ease and confidence.
What to do next!
Our Popular Drawing!
Learn how to draw simple and free step-by-step drawing tutorials for kids and beginners! On draweasyfun.com, you will learn how to draw animals, plants, objects, and popular cartoon characters with easy-to-follow instructions. So what are you waiting for! Check Out Now!
