How to Draw a Beautiful Butterfly Drawing Step by Step

Easy butterfly drawing for kids and beginners — drawing tutorial with clear images and fun coloring tips.

Difficulty Level: Easy

Time Needed: 30 Minutes

Material Needed:
  • Pencil & Eraser – for sketching and fixing mistakes.
  • Drawing Paper – plain white or sketchbook page.

  • Colors – use crayons, color pencils, or markers.

  • Black Marker – to outline the Butterfly drawing.

  • Sharpener – to keep your pencil ready.

Color to Use:
  • Wings: Light to dark blue gradient.

  • Body: Dark gray or black.

  • Wing tips: Deep navy blue.

Amazing Facts About Butterflies for Kids

Butterflies are beautiful and gentle insects that love flowers.
They are fun to draw and even more fun to watch! Here are some easy facts about butterflies:

  • Big Change: Every butterfly starts as a tiny egg, turns into a caterpillar, and then changes into a butterfly.
  • Short Life: Most butterflies live for only a few weeks, but some live longer.
  • Taste With Their Feet: Butterflies can taste things with their feet! They use them to find the best plants to lay eggs on.
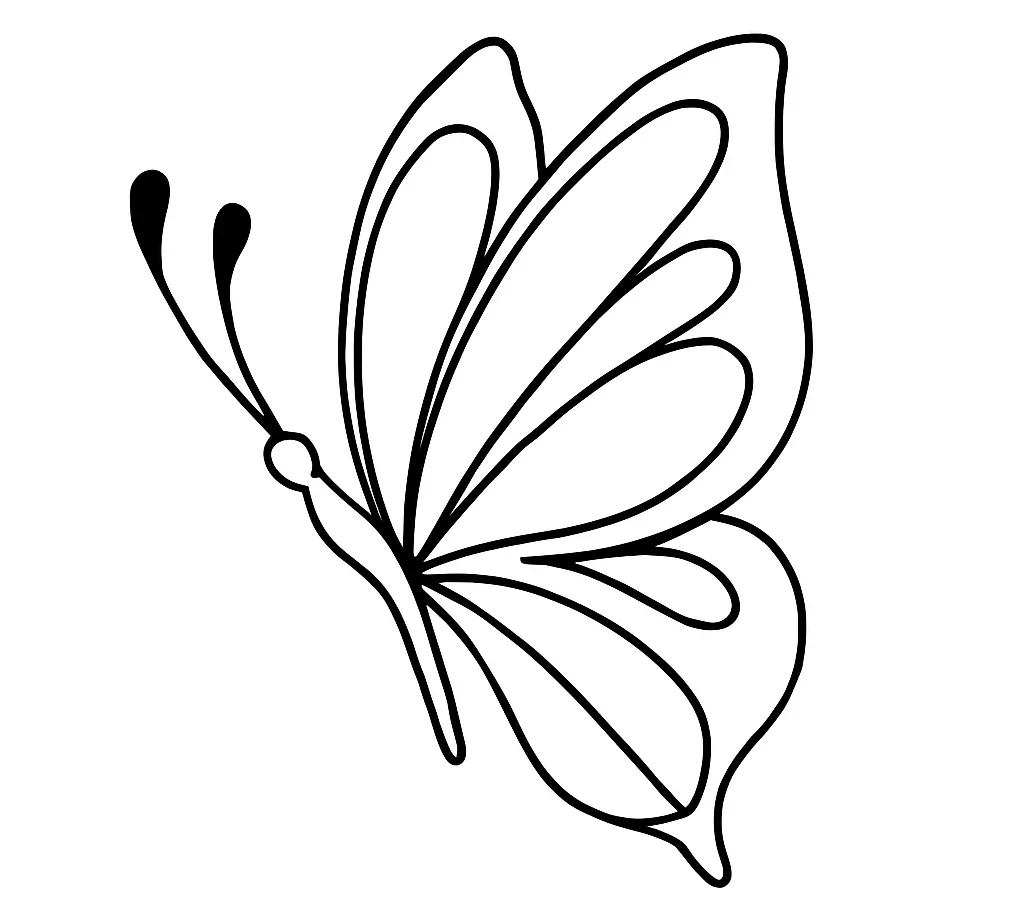
  • Pretty Wings: A butterfly’s bright colors come from tiny scales that reflect light.

Some butterflies, like the Monarch, fly very far — from one country to another, making them great travelers!

Step-By-Step instructions for Butterfly Drawing

the final result of our Butterfly drawing will look something like this:

How-To-Draw-Butterfly-drawing-Final-Step

Step 1: Draw the Body

How-To-Draw-Butterfly-drawing-Step-1
  • Start by sketching a long, curved shape for the butterfly’s body.
  • Make it slightly narrow at the end and round at the top. This will be the center of your butterfly.

Step 2: Add the Antennae

How-To-Draw-Butterfly-drawing-Step-2
  • Next, draw two thin curved lines from the top of the head.
  • Add small oval shapes at each tip to form the antennae. These will give your butterfly a graceful look.

Step 3: Outline the Upper Wings

How-To-Draw-Butterfly-drawing-Step-3
  • Now, draw a large wing extending from each side of the body.
  • The wings should curve outward and upward. Make sure both sides are even to keep your butterfly balanced.

Step 4: Add the Inner Wing Layers

How-To-Draw-Butterfly-drawing-Step-4
  • Then, sketch a smaller wing shape inside each large wing.
  • These inner wings should follow the same curve but be slightly smaller.
  • They add more detail and structure to your butterfly’s wings.

Step 5: Draw the Lower Wings

How-To-Draw-Butterfly-drawing-Step-5
  • After finishing the upper wings, move to the bottom section.
  • Draw two curved shapes that point slightly downward. These will form the lower part of the butterfly’s wings.

Step 6: Add Wing Patterns

How-To-Draw-Butterfly-drawing-Step-6
  • Next, add smooth curved lines inside the wings to create decorative patterns.
  • These lines can be wavy or teardrop-shaped. Use soft curves to give your butterfly a natural and elegant look.

Step 7: Color Your Butterfly

How-To-Draw-Butterfly-drawing-Final-Step
  • Once you’re satisfied with the sketch, trace the final lines using a black pen or marker.
  • Then, gently erase any extra pencil marks. Make sure the edges are neat and smooth.

  • Now comes the best part — coloring! Use bright shades to make your butterfly pop. You can try this color scheme:

    • Wings: Light to dark blue gradient.

    • Body: Dark gray or black.

    • Wing tips: Deep navy blue.

    Adding smooth gradients makes your butterfly look more realistic and vibrant.

Great Job!

Congratulations — you’ve just finished your butterfly drawing! Each step built on the last to create something truly beautiful. Keep practicing, and you’ll be drawing butterflies with ease and confidence.

Learn how to draw simple and free step-by-step drawing tutorials for kids and beginners! On draweasyfun.com, you will learn how to draw animals, plants, objects, and popular cartoon characters with easy-to-follow instructions. So what are you waiting for! Check Out Now!

Scroll to Top