How to Draw a Cute Dog — Easy Step-by-Step Guide
This tutorial is designed for kids and complete beginners. Follow each step slowly, and you will have an adorable, cute dog drawing at the end!
Difficulty Level: Easy
Time Needed: 30 Minutes
Material Needed:
- Pencil & Eraser – for sketching and fixing mistakes.
Drawing Paper – plain white or sketchbook page.
Colors – use crayons, color pencils, or markers.
Black Marker – to outline the Dog drawing.
Sharpener – to keep your pencil ready.
Color to Use:
- Body: Light Brown or Cream
- Ears and Tails: Dull Brown and Brown
- Sky: Light Sky
- Grass: Green
Fun & Interesting Facts About Dogs
- Dogs can learn over 100 words, just like small children!
- Puppies are born without teeth and with their eyes closed.
- Just like human fingerprints, a dog’s noseprint is also unique.
- Dogs wag their tails to communicate emotions—happy, excited, or curious.
- Some dogs can run faster than 40 km/h—that’s quicker than your bicycle!
If you want to learn more, Click Here: Dog
Step-By-Step instruction for easy Dog Drawing
the final result of our easy Dog drawing will look something like this:
Step 1: Draw the Head Shape
- Draw a large, rounded shape for the dog’s head, slightly wider at the bottom with a small inward curve on the right side.
Step 2: Add the Ears
- Draw two big floppy ears on each side of the head, making them rounded and droopy for a cute puppy look.
Step 3: Draw the Eyes
- Add more wavy lines from the bottom of the head until you have a total of eight tentacles.
- Keep them in different sizes for a fun and natural look.
Step 4: Add the Nose and Mouth
- Draw a small oval nose in the center of the face, then add two curved lines below it to create a cute smiling mouth.
Step 5: Draw the Body and Back Leg
- From the right side of the head, draw a long curved line downward to shape the dog’s back.
- Then add another curved shape at the bottom to form the back leg and paw.
Step 6: Add the Tail and Paw Details
- Now draw a curved tail on the right side of the body.
- Then add two small curved lines on the paw to show the cute little toes.
Step 7: Draw the Front Leg
- Add a long curved line coming down from the head to form the dog’s right front leg.
- Then draw the small paw at the bottom with two curved toe lines.
Step 8: Add the Left Front Leg
- Now draw the second front leg beside the first one.
- Add a straight line down for the leg and finish it with a small, rounded paw, including two short toe lines.
Step 9: Color Your Cute Dog
- Finish your drawing by adding colors! Use a light beige or tan shade for the dog’s body, a darker orange–brown for the ears and tail, and keep the eyes and nose black.
- This brings your cute puppy to life, making the drawing look complete and adorable!
Optional Step: Add a Cute Background
- To make your drawing even more fun, add a simple background.
- You can draw clouds, flowers, butterflies, or a grassy hill—just like in the picture.
- This step is completely optional, but it makes your dog drawing look more lively and adorable.
- Kids love adding these little extra details!
Your Dog Drawing Is Ready!
You’ve completed your easy Dog drawing, and it looks amazing!
Kids will love this simple step-by-step style, and beginners can follow it easily, too. Your Dog drawing is sure to stand out.
Dog Drawing Process Overview – From Start to Finish
Christmas Special Drawings!
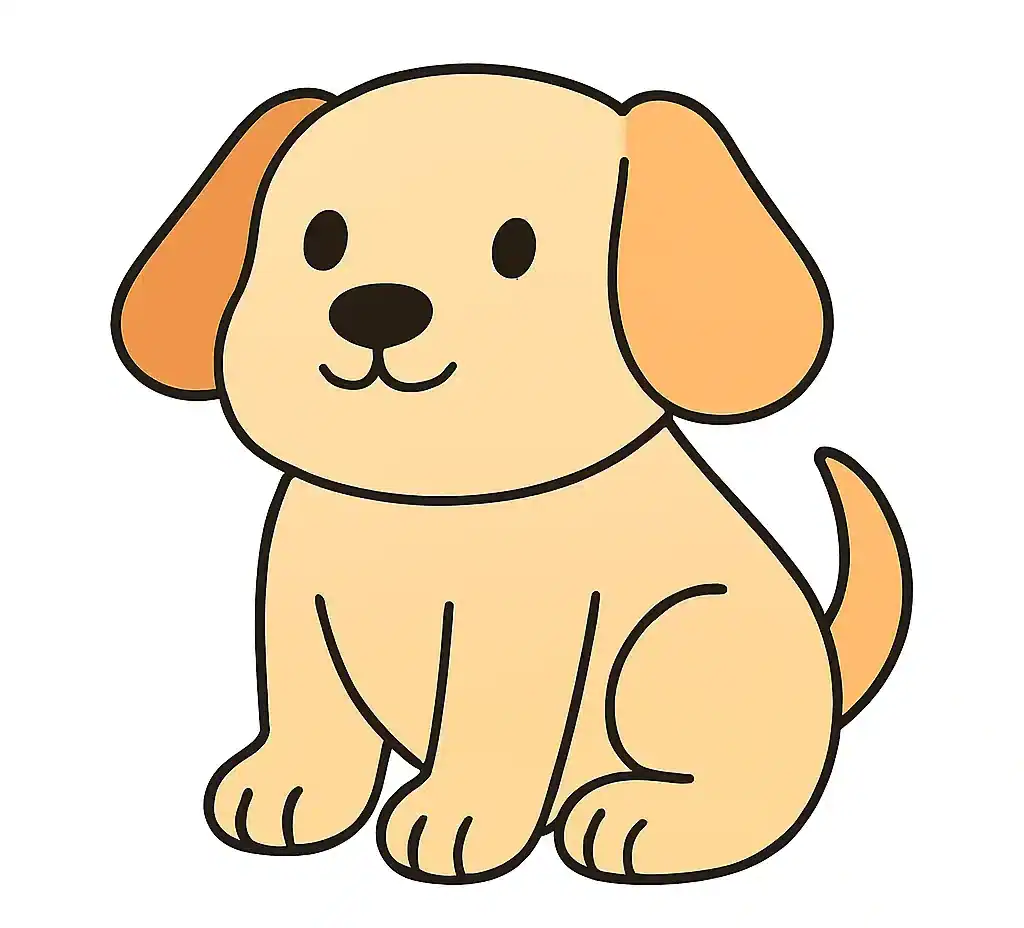
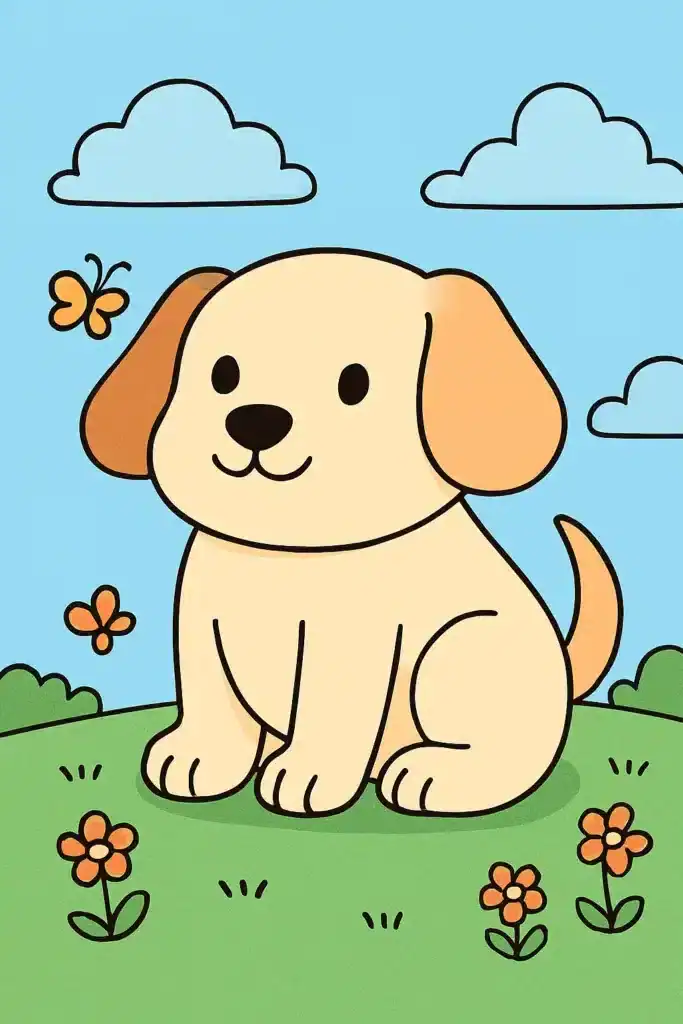
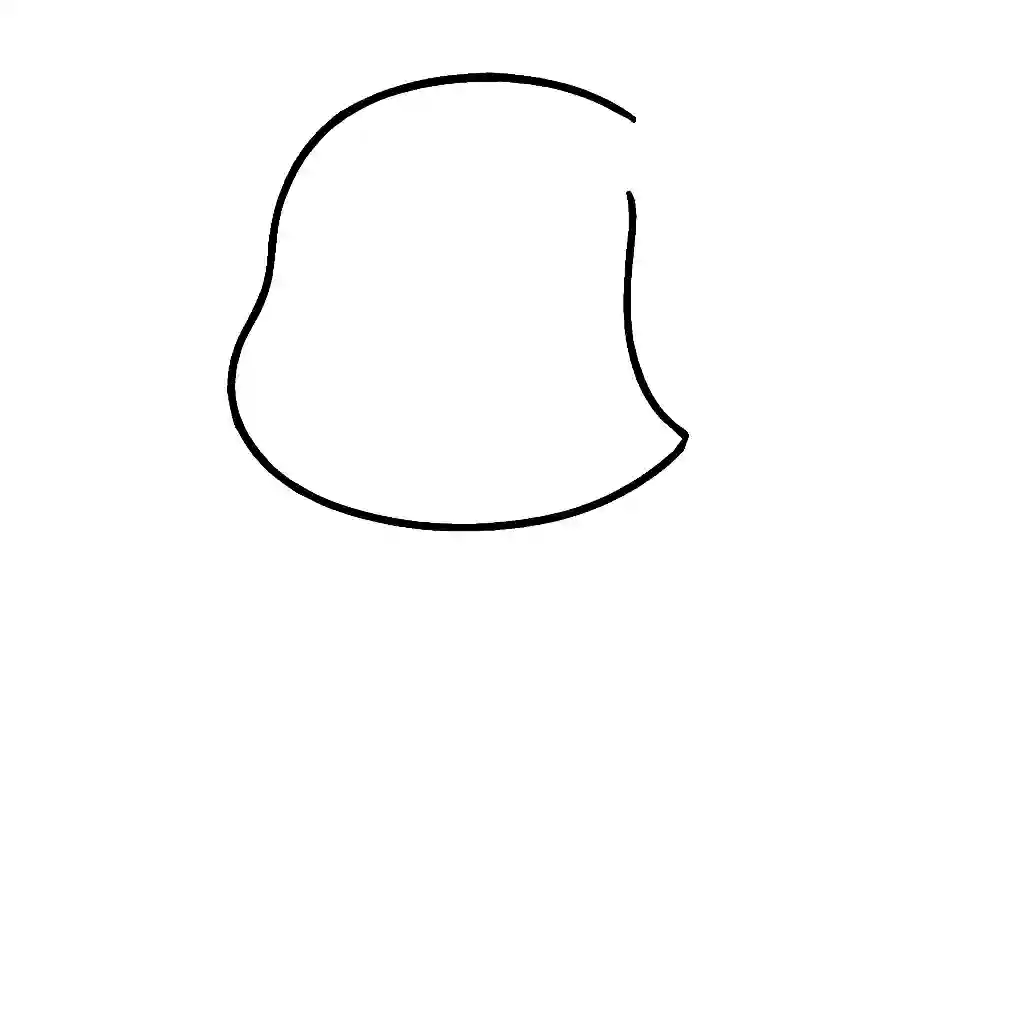
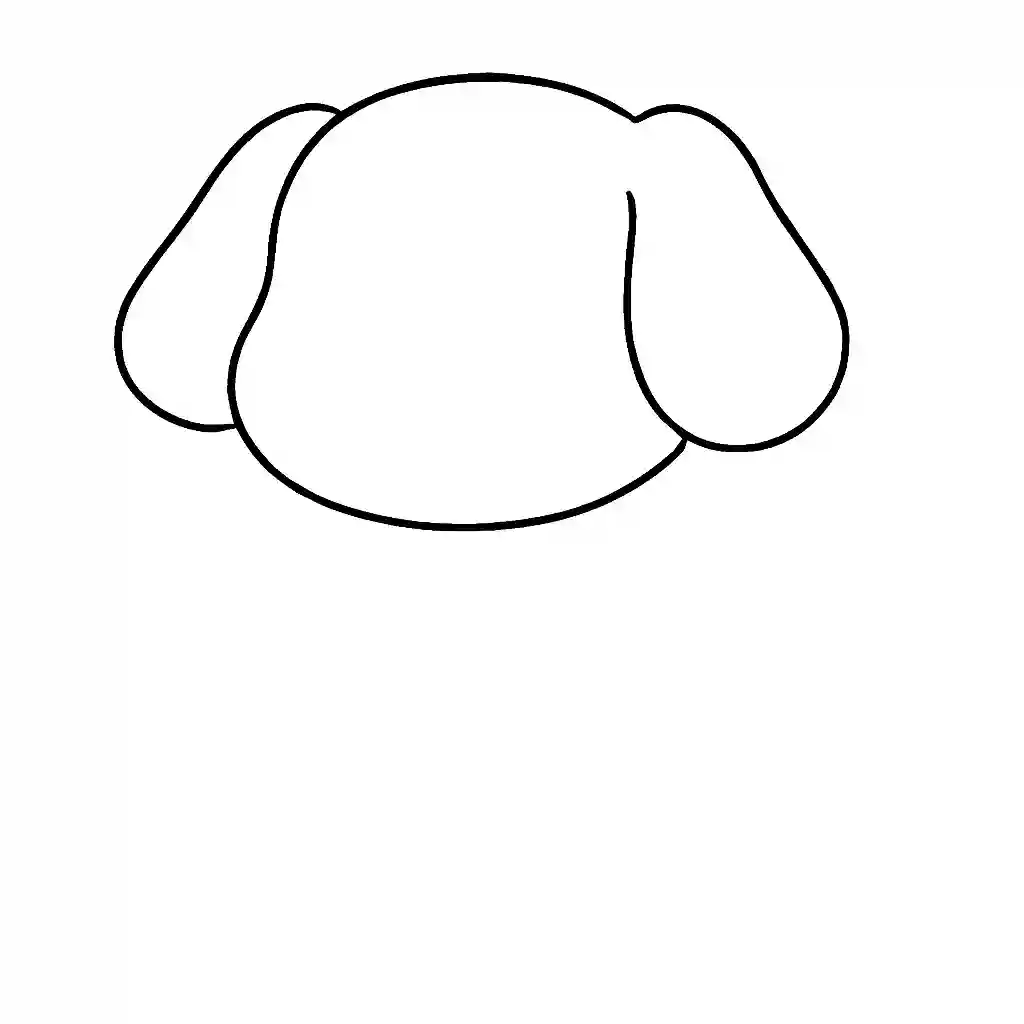
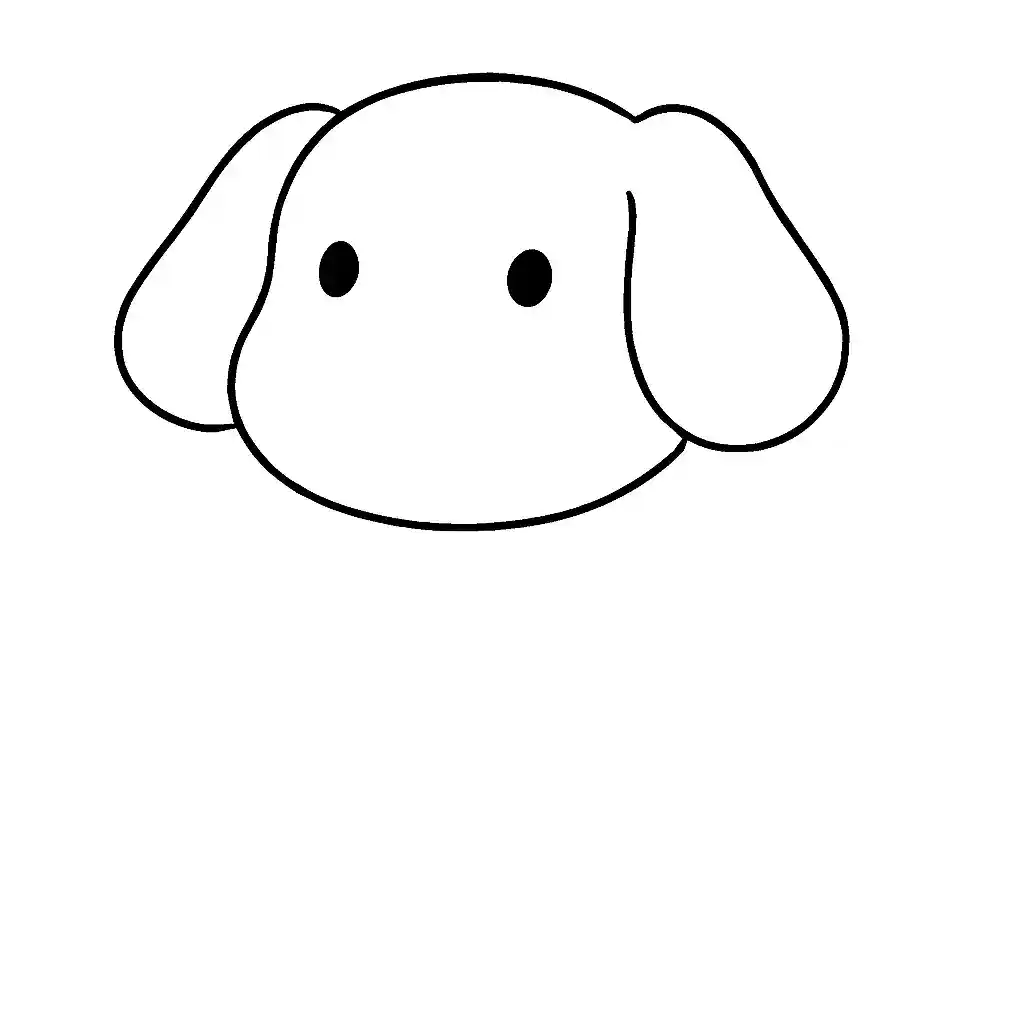
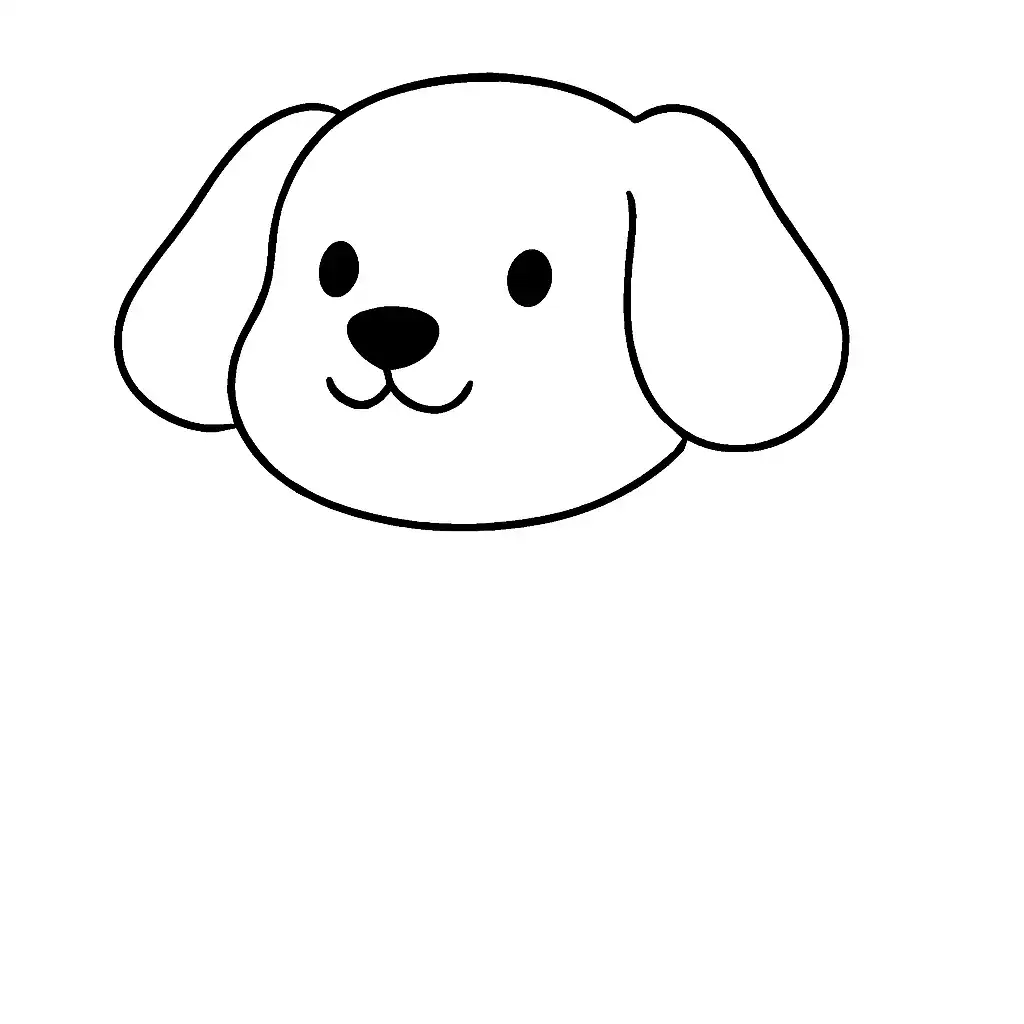
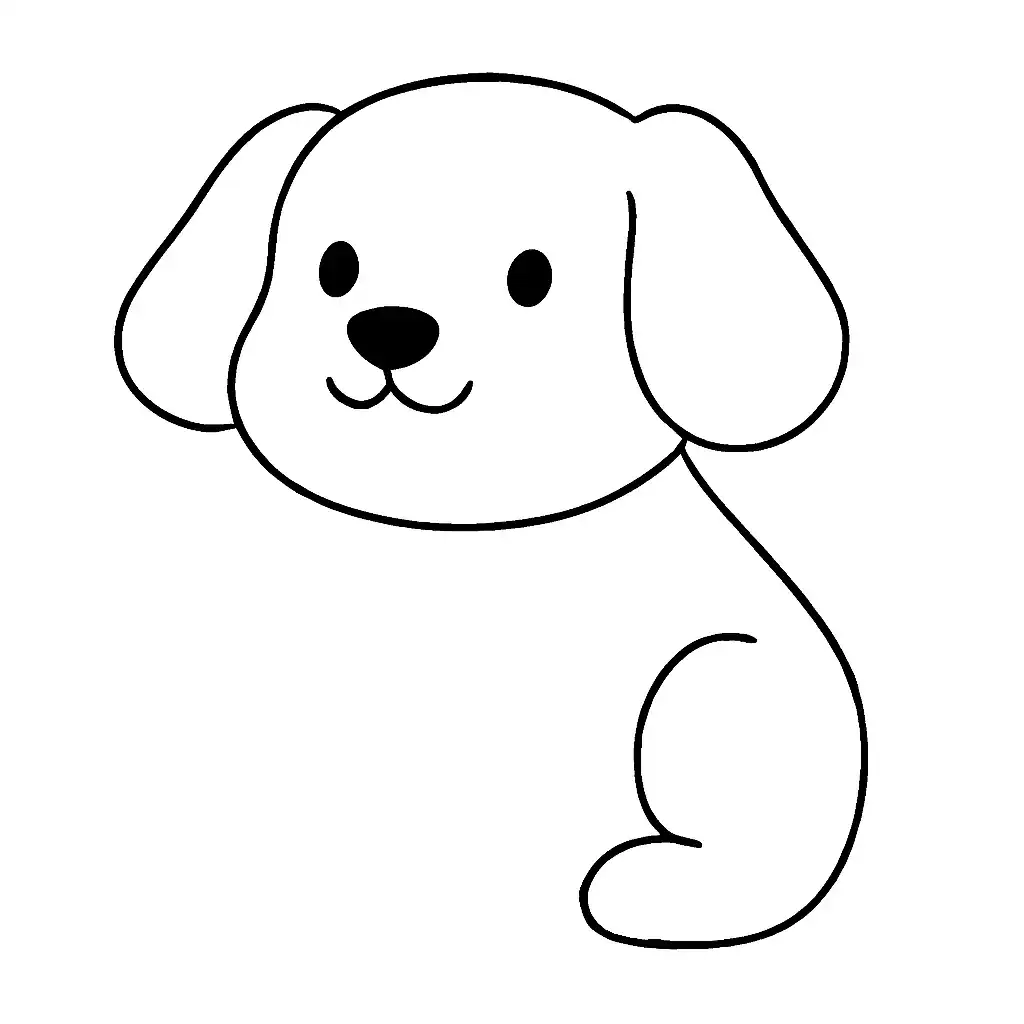
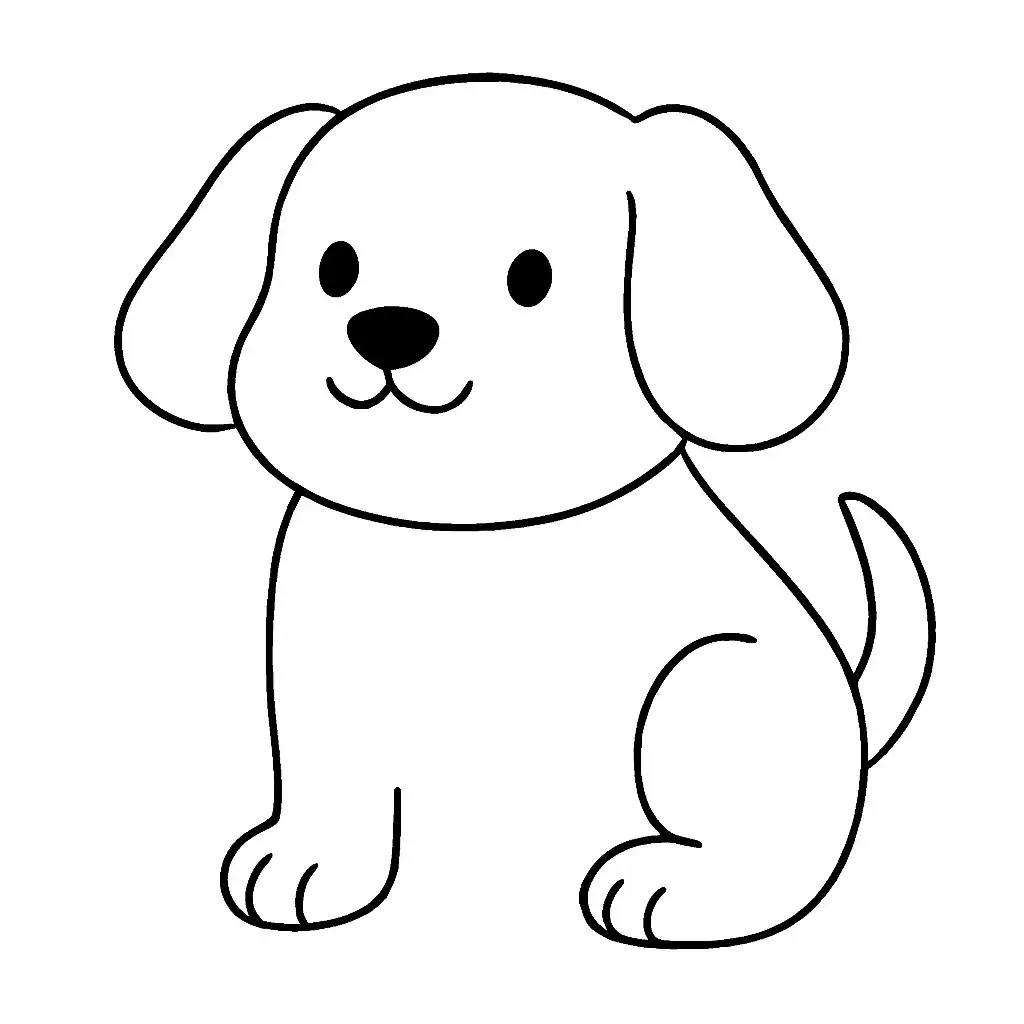
Learn how to draw simple and free step-by-step drawing tutorials for kids and beginners! On draweasyfun.com, you will learn how to draw animals, plants, objects, and popular cartoon characters with easy-to-follow instructions. So what are you waiting for! Check Out Now!
