How to Draw a Christmas Stocking drawing Step-by-Step
Draw a cute and festive Christmas stocking drawing with these easy Christmas drawing steps, which are perfect for kids and beginners!
Difficulty Level: Easy
Time Needed: 30 Minutes
Material Needed:
- Pencil & Eraser – for sketching and fixing mistakes.
Drawing Paper – plain white or sketchbook page.
Colors – use crayons, color pencils, or markers.
Black Marker – to outline the Christmas Stocking Drawing.
Sharpener – to keep your pencil ready.
Color to Use:
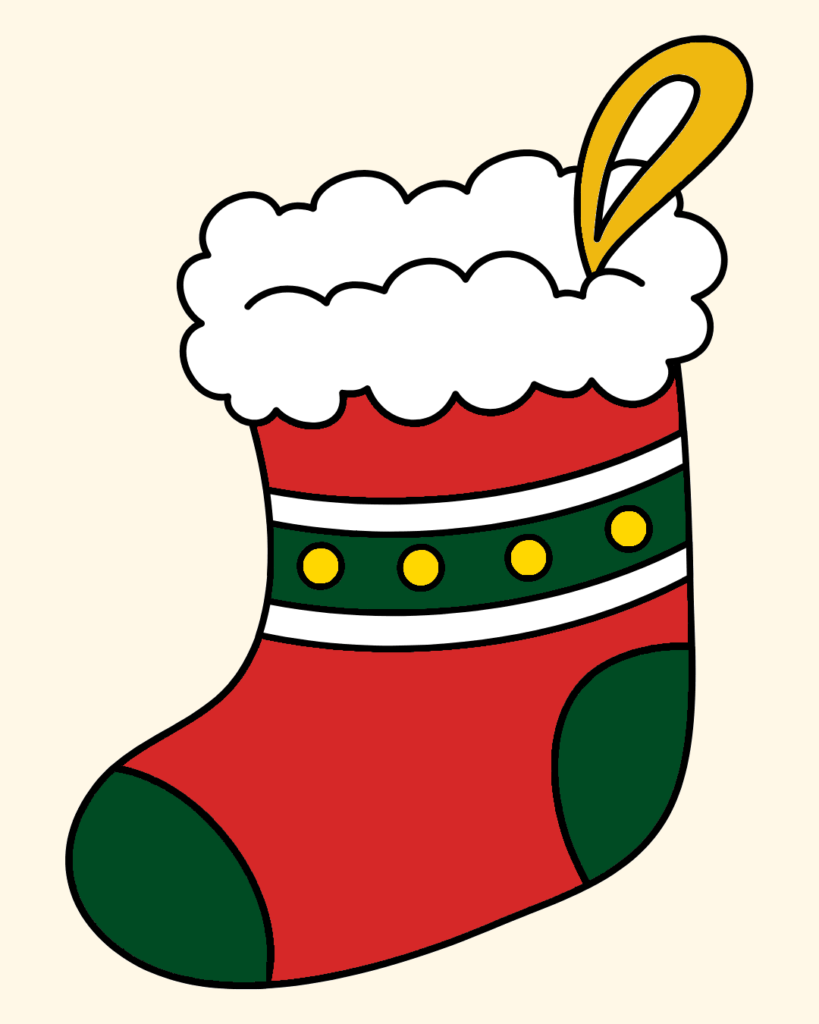
- Use red for the main body.
- Add green to the toe, heel, and middle band.
- Use white for the fluffy top.
- Finally, color the loop gold for a warm, festive touch.
Interesting Facts About Christmas Stockings
Old Legend: The tradition of Christmas stockings started with St. Nicholas (the real-life inspiration for Santa Claus), who dropped gold coins into stockings drying by the fireplace.
Stockings Worldwide: In some countries, kids use shoes instead of stockings to receive gifts!
Stocking Fillers: Typical gifts include candy canes, chocolates, toys, and small surprises — known as “stocking stuffers.”
Giant Stockings: The world’s largest Christmas stocking was over 168 feet long — taller than a 15-story building!
Symbol of Joy: Hanging stockings represents hope, generosity, and the magic of giving during Christmas.
If you want to Learn More, click here: Christmas Stocking
Easy Christmas drawing instructions to draw Christmas Stocking
the final result of our Christmas Stocking drawing will look something like this:
Step 1: Draw the Basic Outline
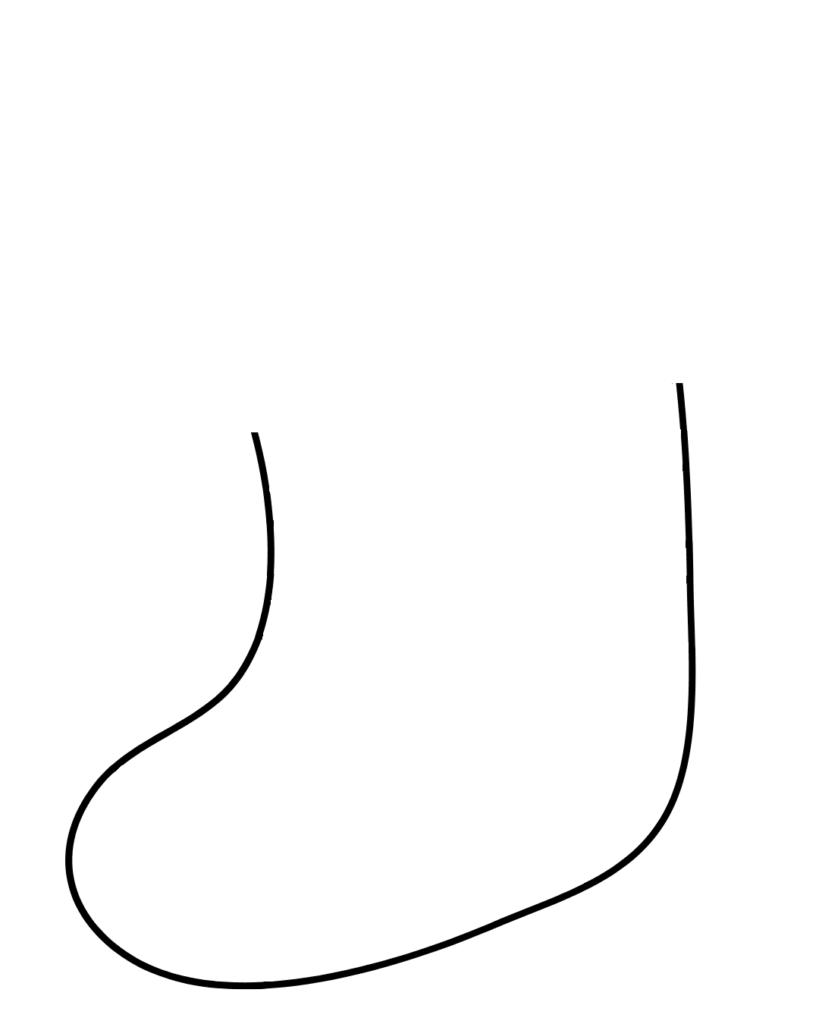
- Start by sketching a long, curved line in the shape of a sock. This will be the main outline of your Christmas stocking.
Step 2: Add the Heel and Toe
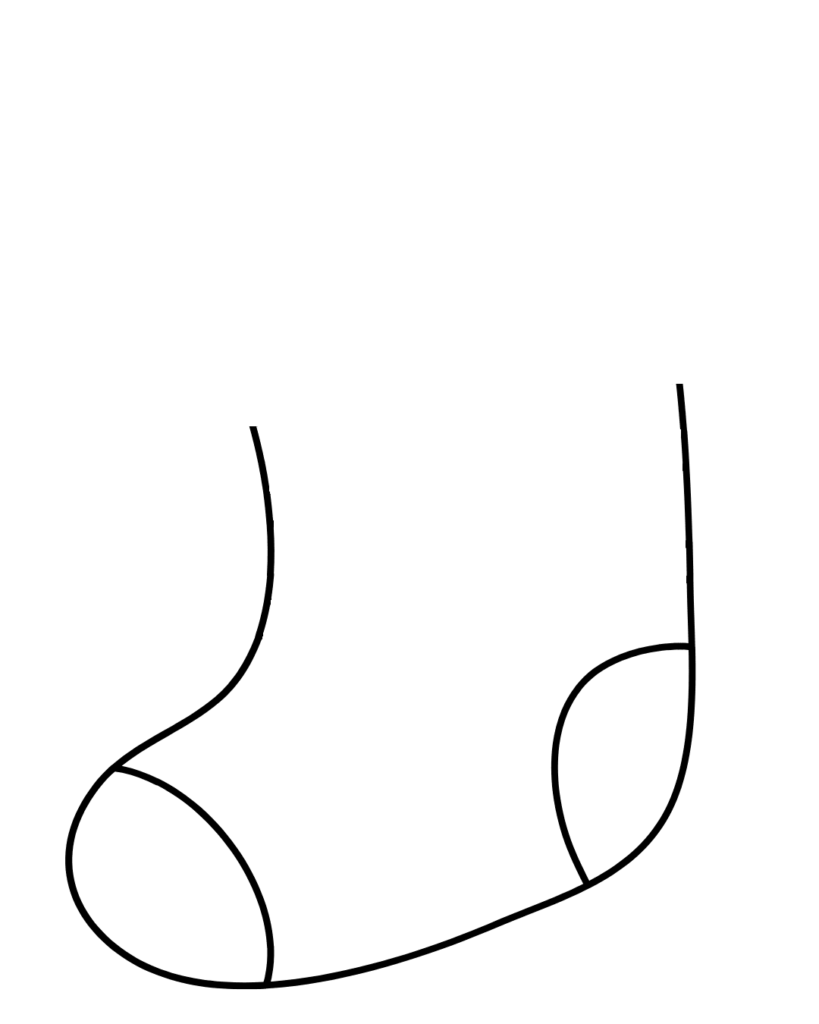
- Now, draw curved shapes at the bottom and side of the stocking to show the heel and toe patches.
Step 3: Create a Band
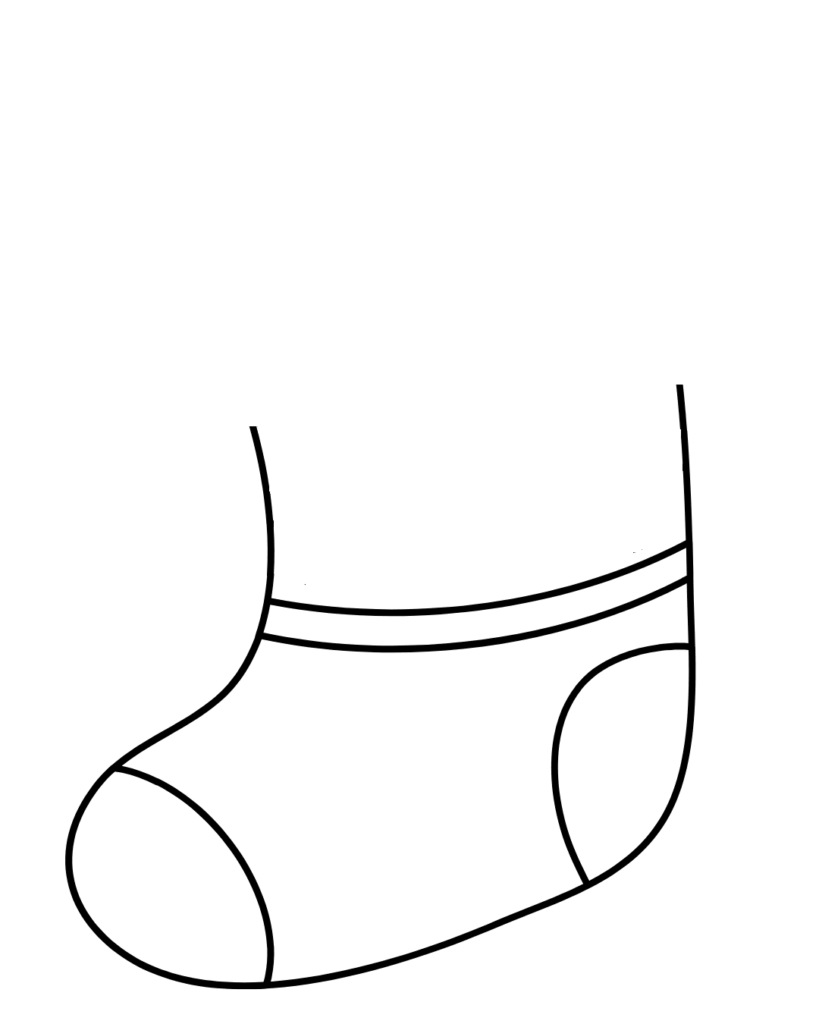
- Draw a long curved line near the top part of the stocking to create a decorative band.
Step 4: Add Circles for Decoration
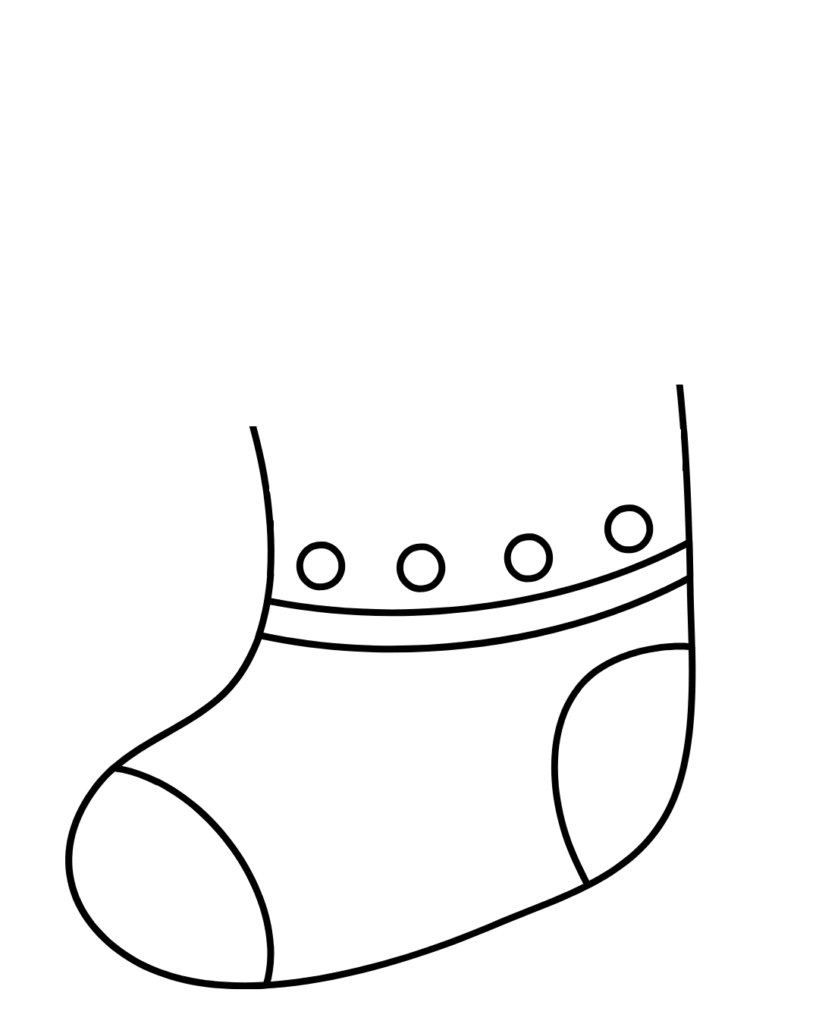
- Inside the band, add a few small circles. These will give your stockings a fun and festive look.
Step 5: Draw Another Band
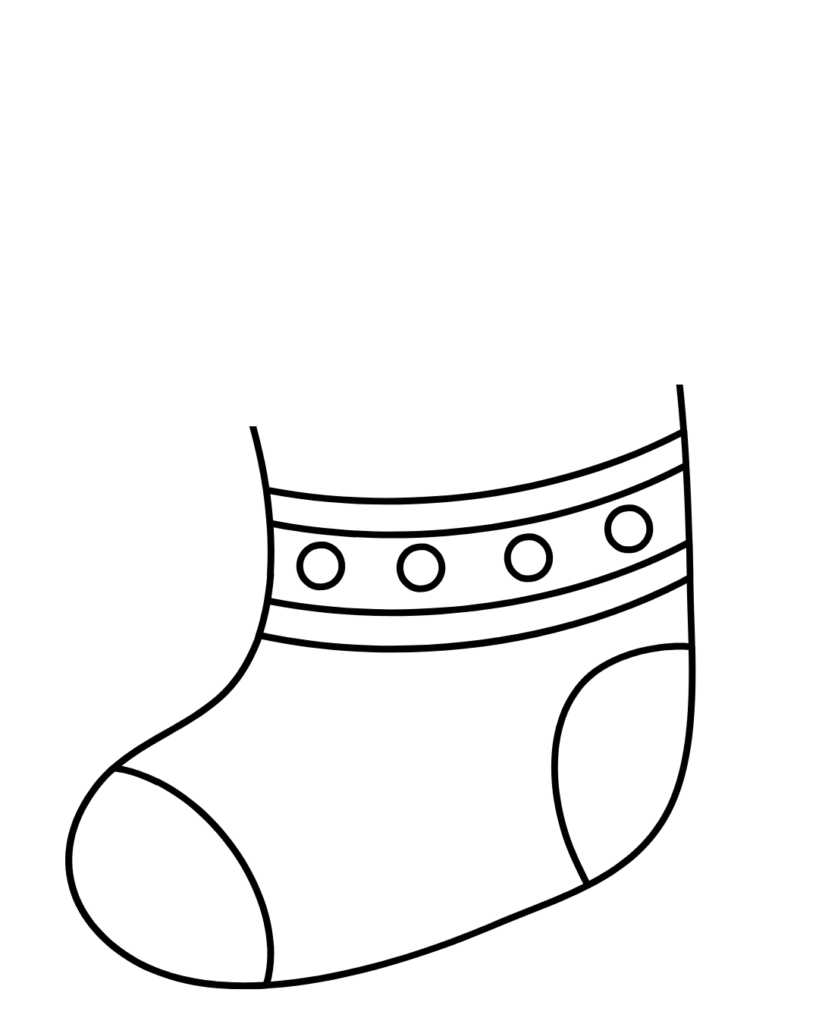
- Add another line above the circles to make the top part of the stocking thicker and more stylish.
Step 6: Add the Upper Edge
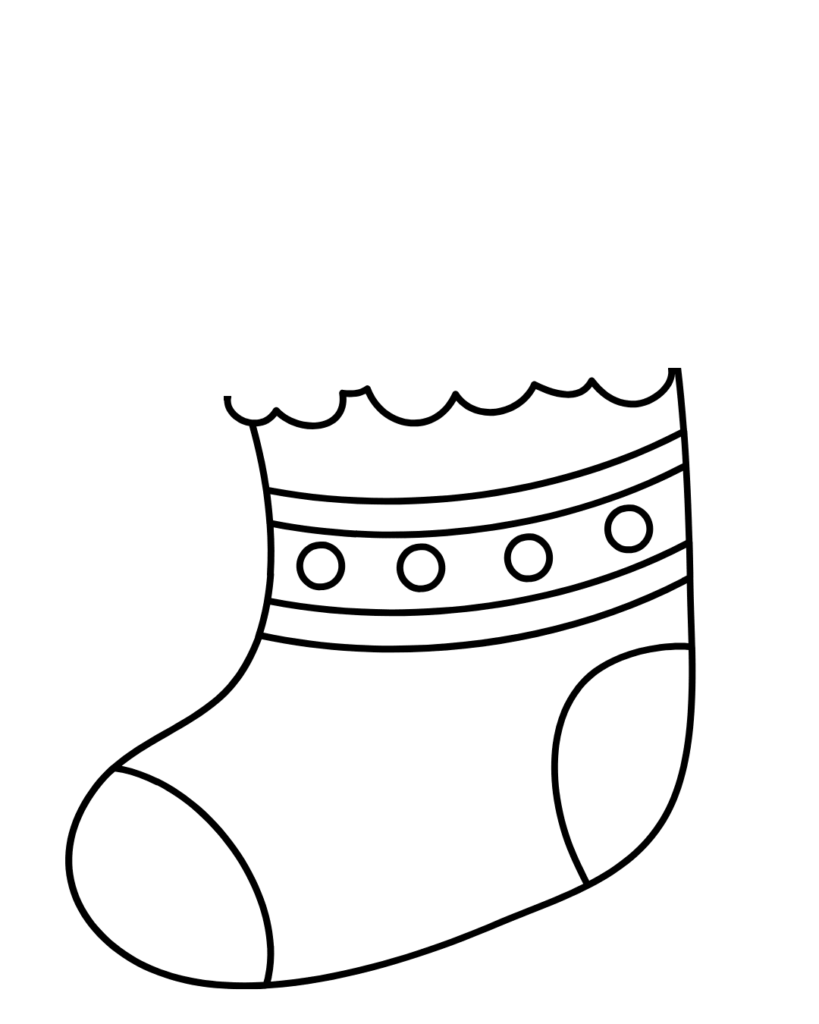
- Draw a wavy line above the bands to create the fluffy part of the stocking — it looks soft and cozy!
Step 7: Make the Fluffy Top
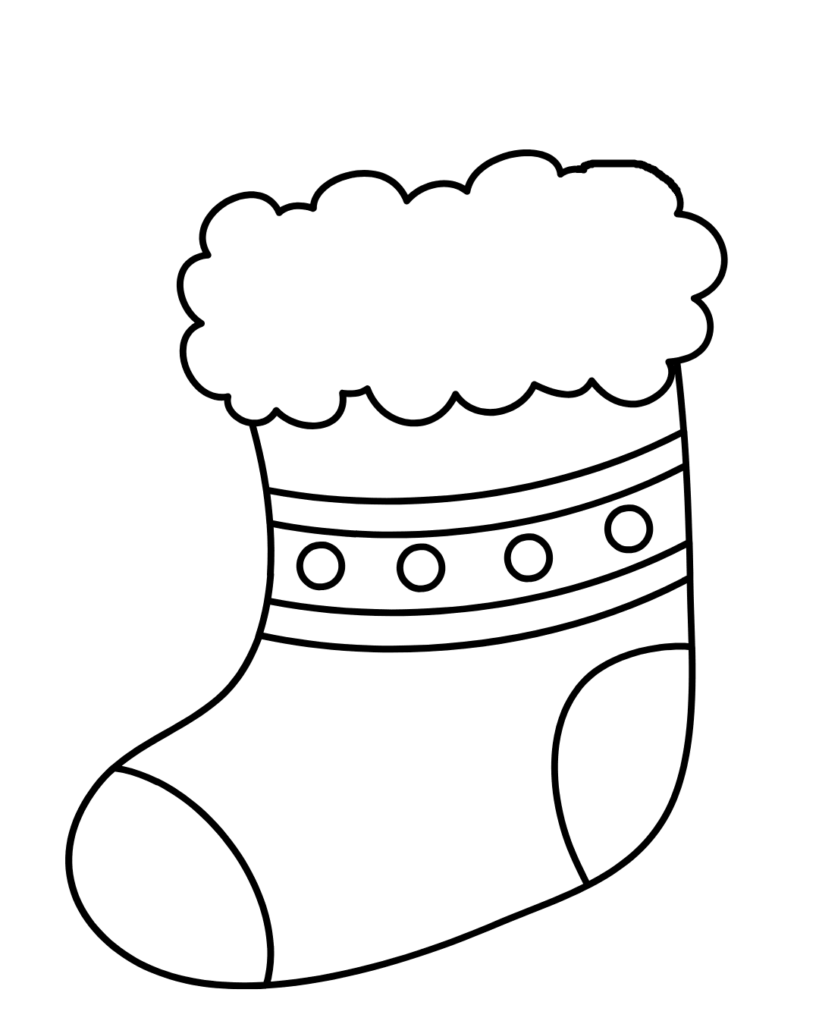
- Now, draw another bumpy outline above the wavy line to make the top part look fuller and more realistic.
Step 8: Add a Hanging Loop
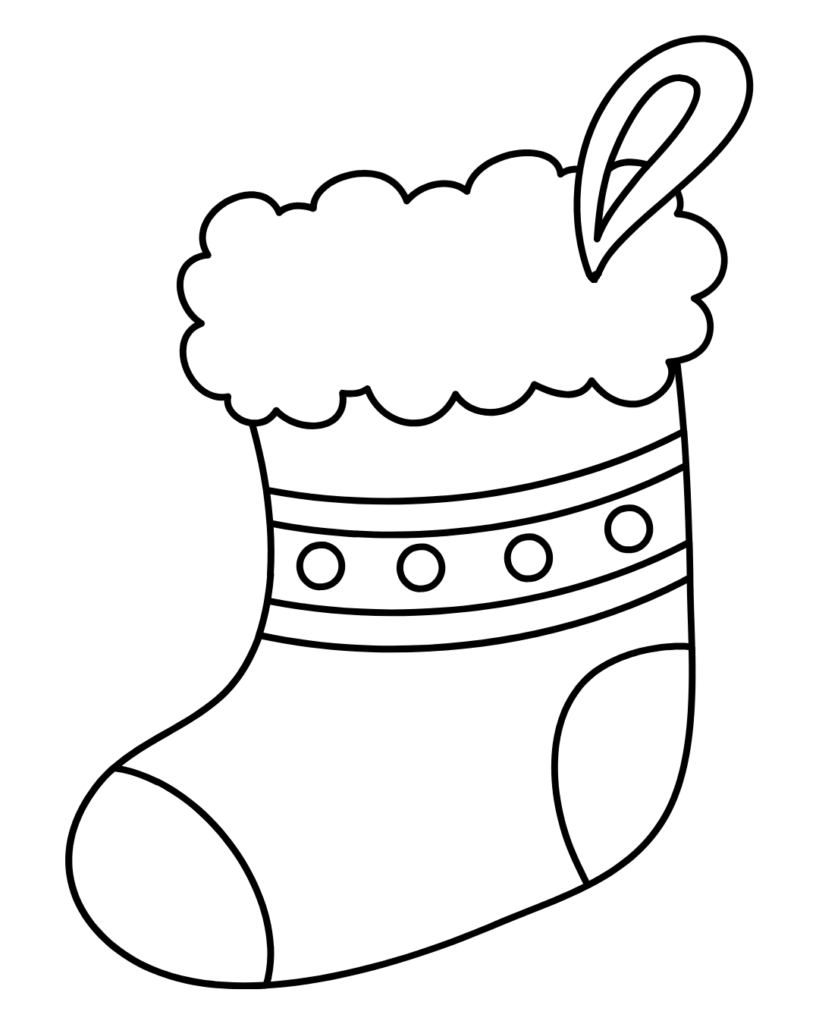
- Draw an oval loop on the right side of the stocking. This is where the stocking hangs by the fireplace!
Step 9: Refine the Fluff
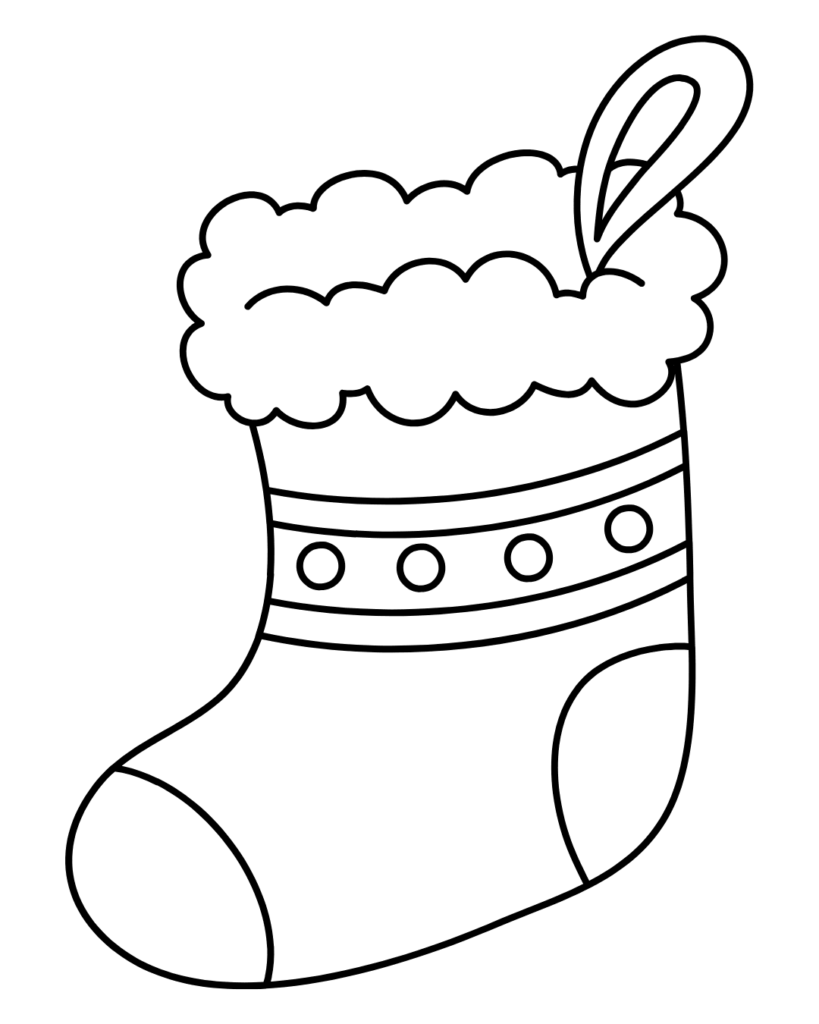
- Smooth out and complete the fluffy part to make it look more puffy and cloud-like.
Step 10: Add Color

Color your Christmas stocking!
- Use red for the main body.
- Add green to the toe, heel, and middle band.
- Use white for the fluffy top.
- Finally, color the loop gold for a warm, festive touch.
Your adorable Christmas stocking drawing is ready to hang by the chimney!
Great Job!
Congratulations — you’ve just finished your Christmas Stocking drawing! Each step built on the last to create something truly beautiful. Keep practicing, and you’ll be drawing a Christmas stocking. Practice multiple times for better results, easy Christmas drawings with ease and confidence.
Try Next!
Learn how to draw simple and free step-by-step drawing tutorials for kids and beginners! On draweasyfun.com, you will learn how to draw animals, plants, objects, and popular cartoon characters with easy-to-follow instructions. So what are you waiting for! Check Out Now!


