How to Draw a Christmas Tree drawing with Gifts
Looking for fun Christmas drawing ideas? This easy Christmas drawing shows a cute tree with gifts.
Follow each picture in order and keep your pencil lines light at first.
Difficulty Level: Medium
Time Needed: 1 Hour
Material Needed:
- Pencil & Eraser – for sketching and fixing mistakes.
Drawing Paper – plain white or sketchbook page.
Colors – use crayons, color pencils, or markers.
Black Marker – to outline the Christmas Tree Drawing.
Sharpener – to keep your pencil ready.
Color to Use:
- Tree: Green
- Star: Bright Yellow
- Ornaments: Red, Blue, and Orange
- Gifts: Red, Yellow, and Blue
Fun and Fascinating Facts About Christmas Trees
- The first Christmas trees were used over 500 years ago:
People in Germany started decorating trees in the 1500s to celebrate Christmas. - Not all Christmas trees are real:
Many families use artificial trees made of plastic or metal — and some even have ones that light up or spin! - The tallest Christmas tree ever decorated was more than 220 feet high:
Displayed in a shopping mall in Seattle, USA — that’s as tall as a 20-story building! - Every tree is unique:
Just like snowflakes, no two Christmas trees have the same shape or branch pattern. - Christmas trees aren’t only green:
Some people decorate white, pink, or even rainbow-colored trees to make their holiday special! - Candles were once used as Christmas tree lights:
Before electric lights were invented, families carefully placed small candles on branches — but now, twinkling fairy lights are a much safer choice! - The star or angel on top has a special meaning:
It represents the Star of Bethlehem, which guided the Wise Men to baby Jesus in the Christmas story. - Real Christmas trees help the planet:
For every real tree cut down, farmers usually plant two or three more — keeping forests healthy and full of life.If you want more information, click here: Christmas Tree
Easy Christmas drawing instructions to draw Christmas Tree
the final result of our Christmas Tree drawing will look something like this:

Step 1: Start with one gift
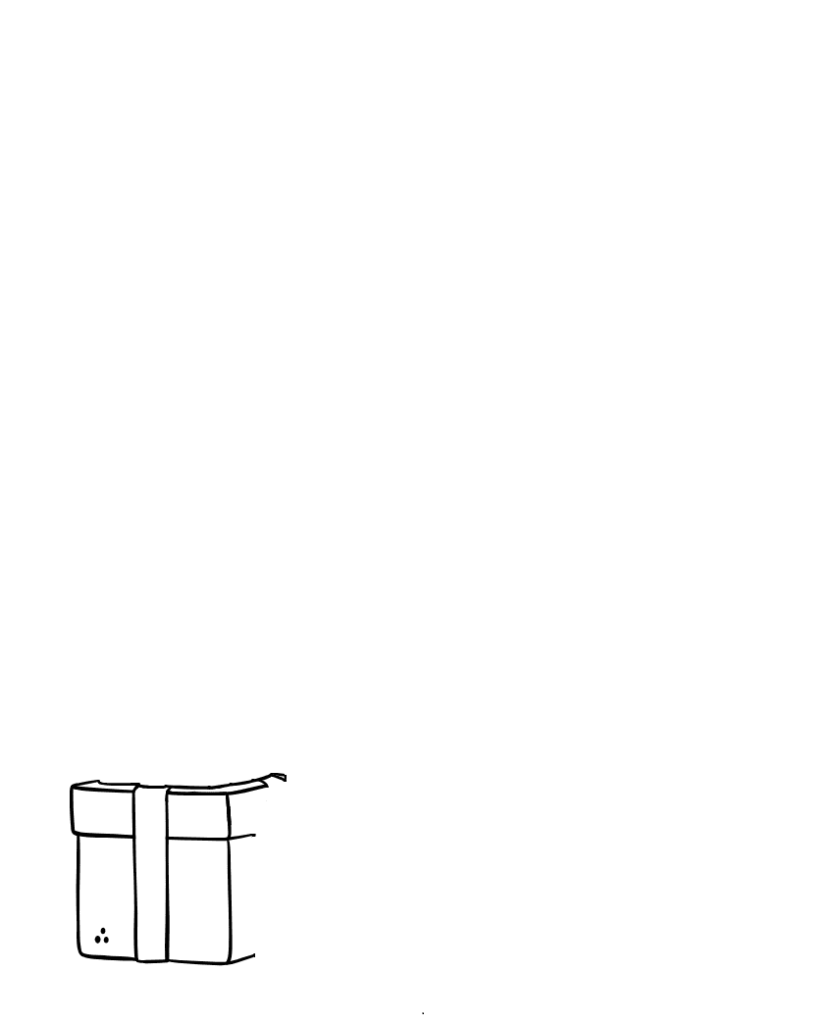
- Begin by sketching a small box in the lower left. Add a lid line and two ribbon strips.
Step 2: Place a second present
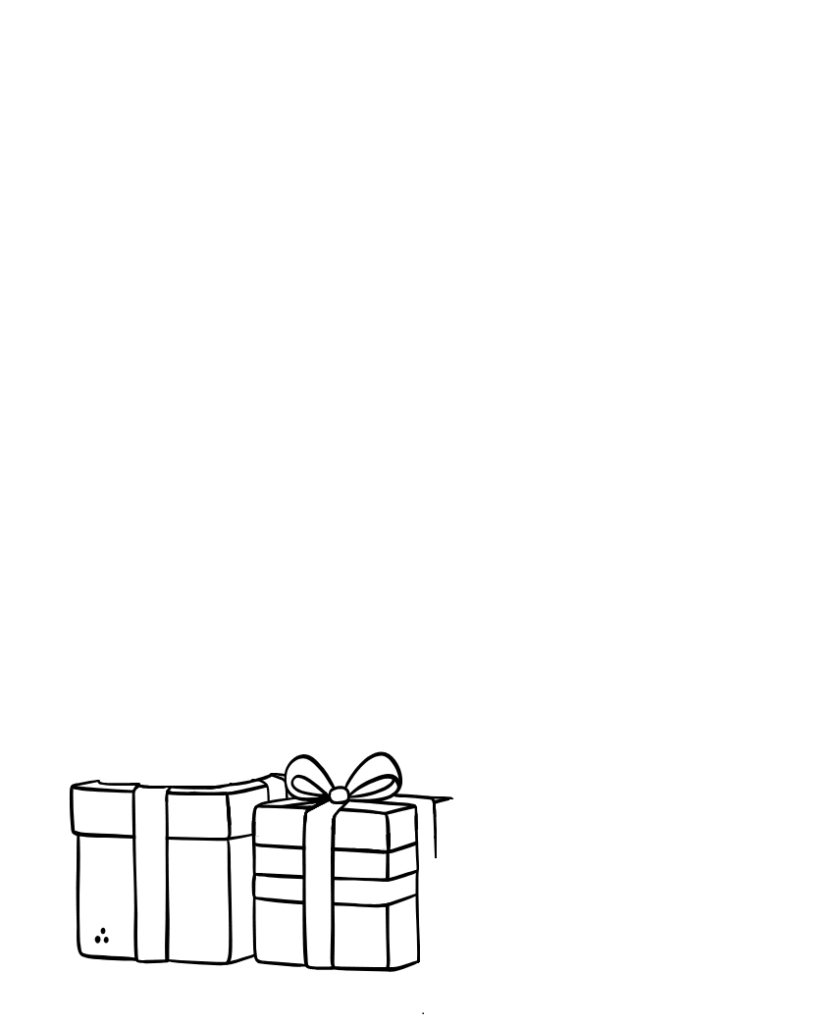
- Next to the first, draw a taller square box. Add a neat bow on top and ribbon bands.
Step 3: Add a third box
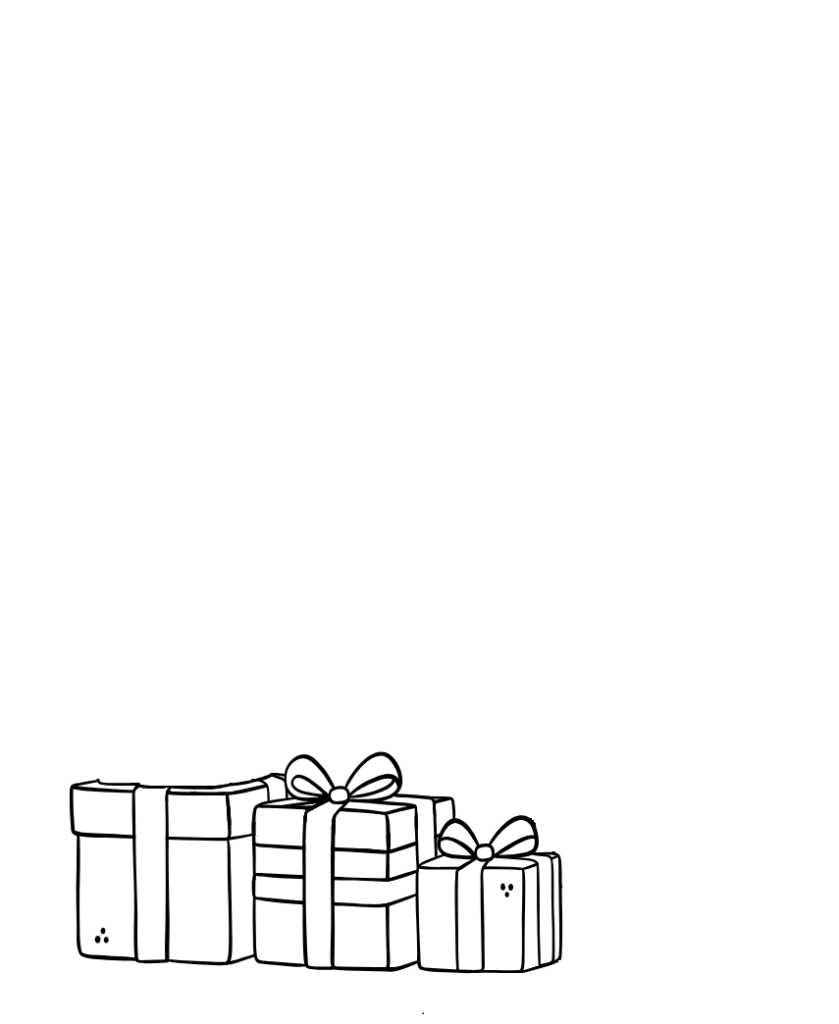
- Now sketch a shorter present on the right. Keep the corners slightly rounded for a soft look.
Step 4: Draw a fourth gift
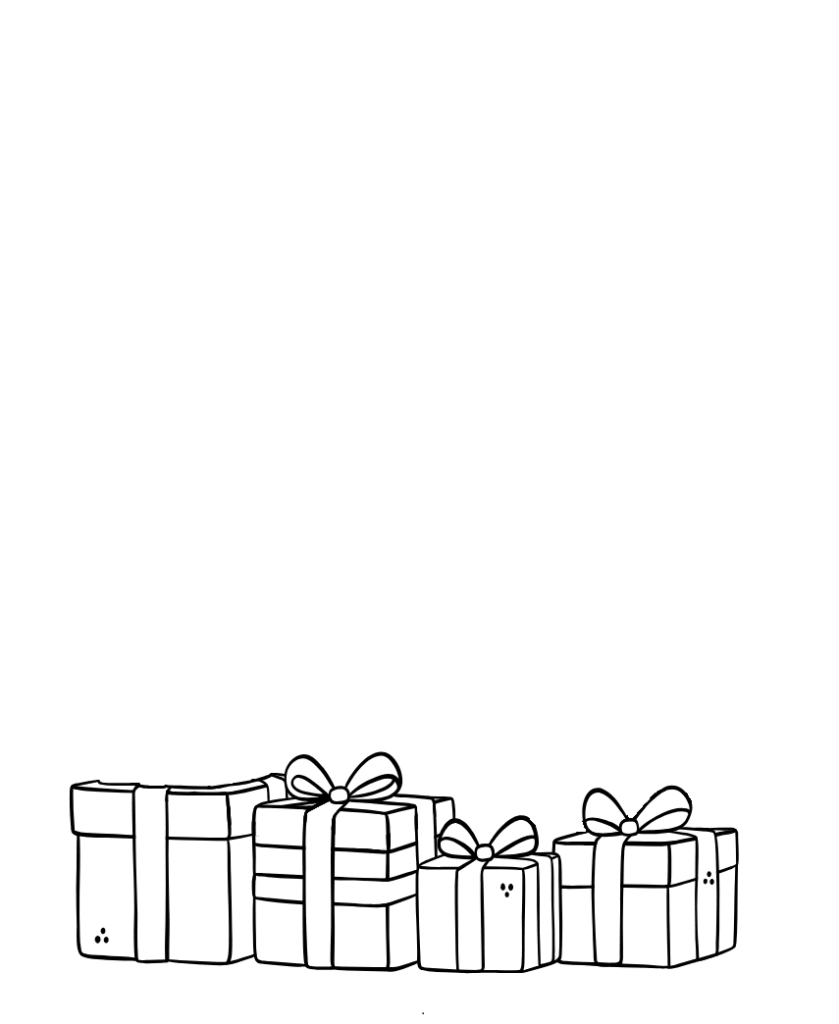
- Then place another box on the far right. Add ribbons so each present feels different.
Step 5: Stack one more
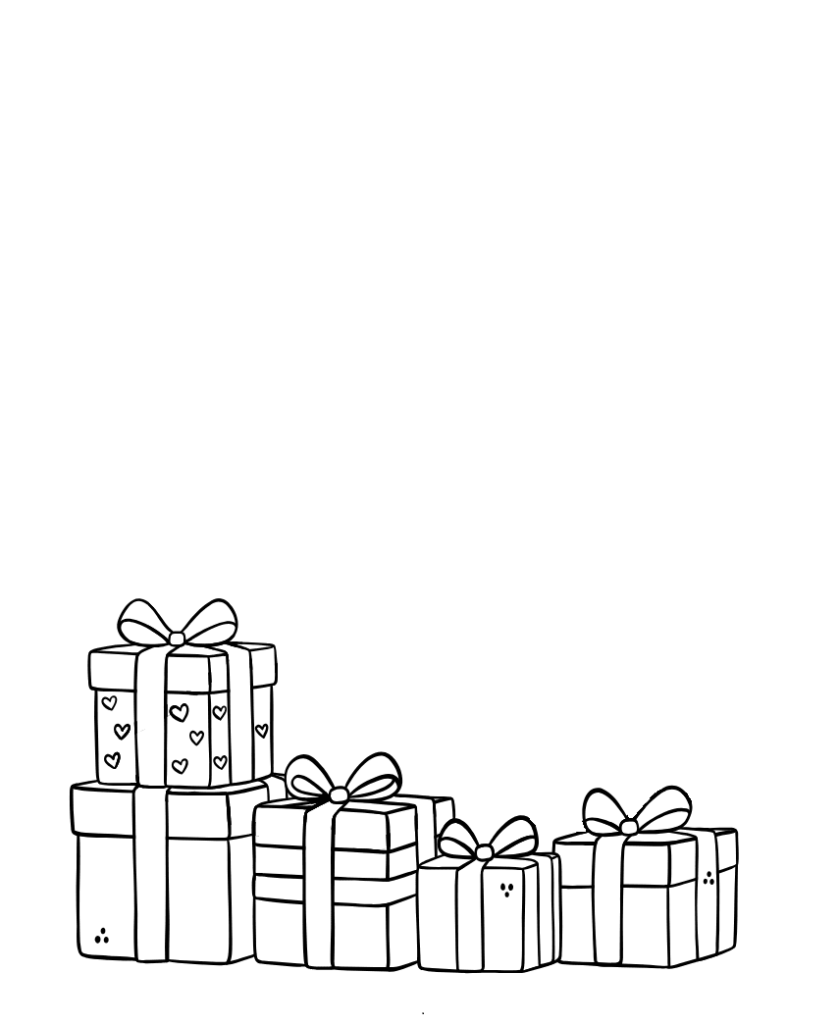
- After that, draw a small gift stacked on the left pile. Add simple patterns like dots or hearts.
Step 6: Begin the tree outline
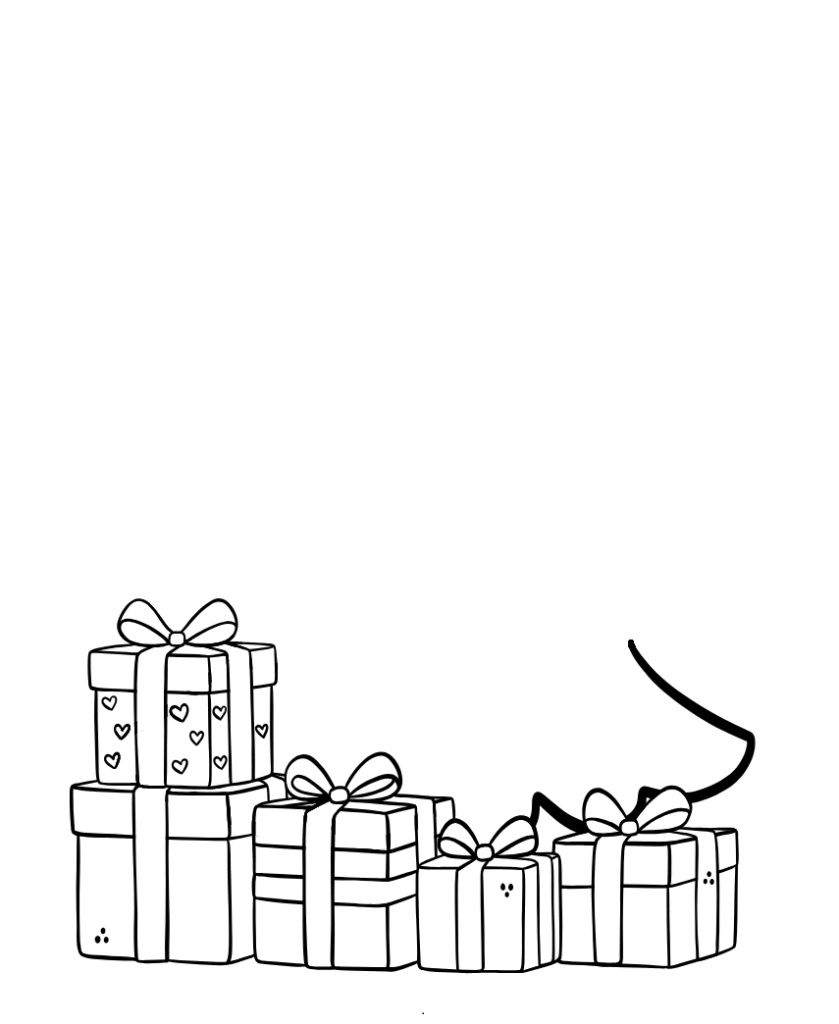
- Behind the gifts, sketch a gentle curved line for the lowest branch layer.
Step 7: Finish the lower branches
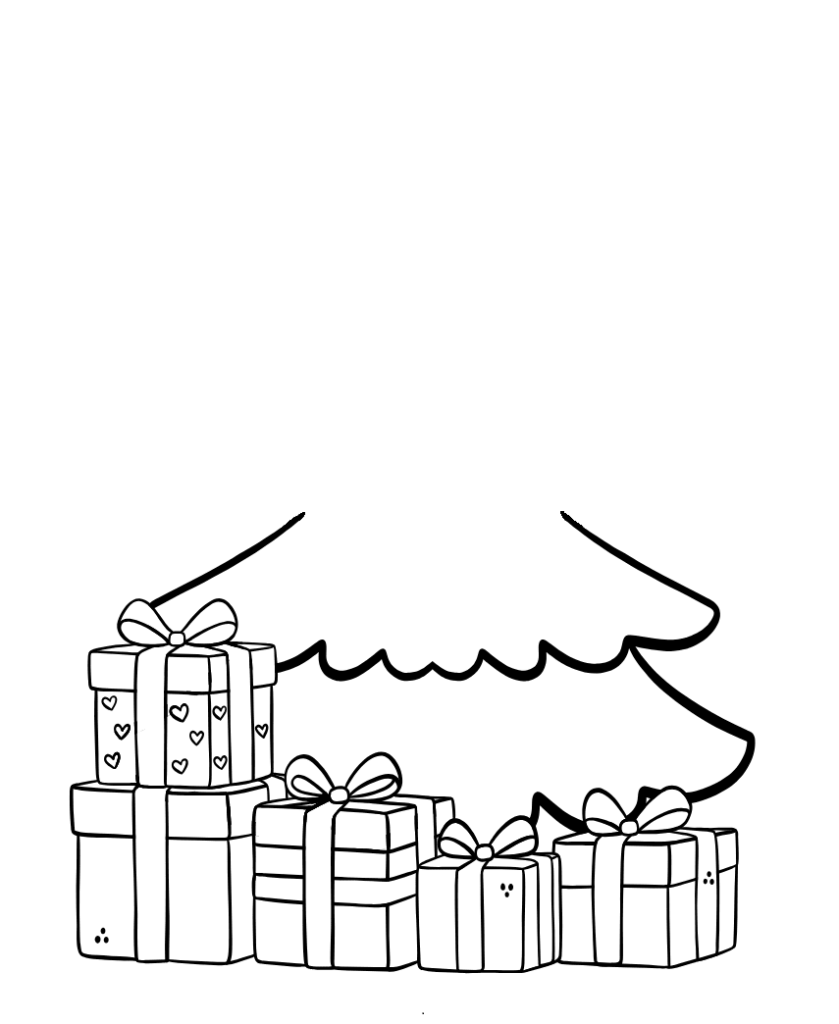
- Complete the entire bottom tier with wavy edges that look like fluffy needles.
Step 8: Build the middle tier
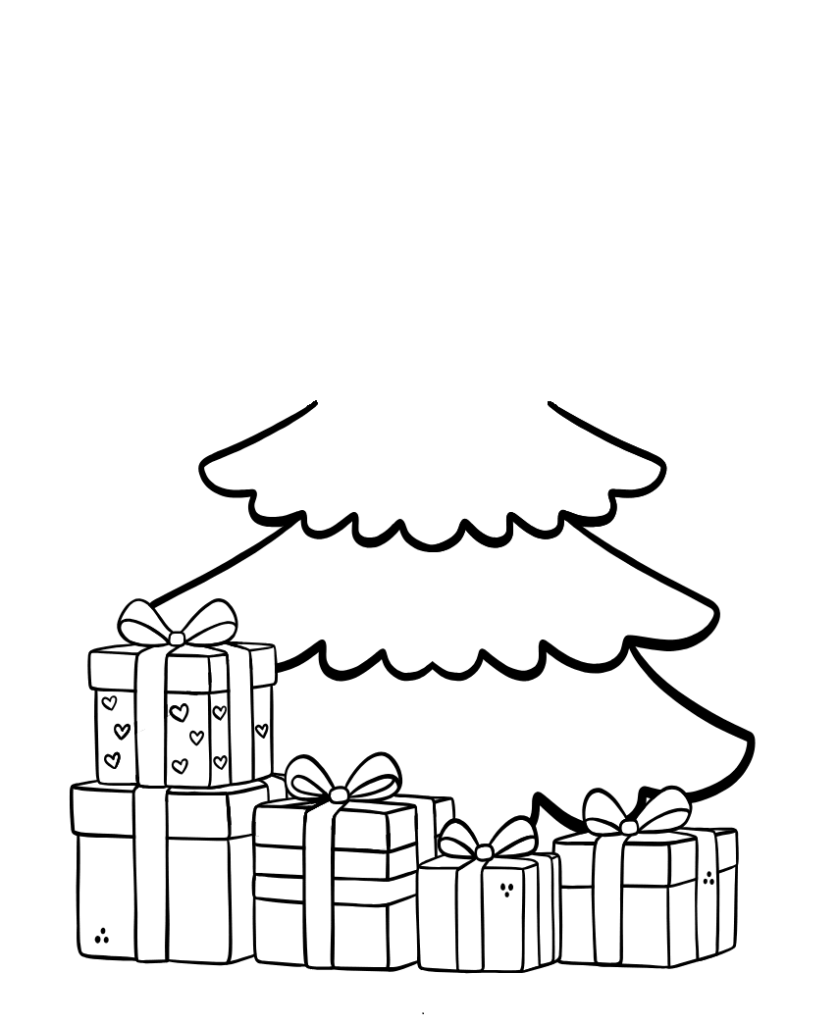
- Above it, add a second wavy layer, a little smaller than the first.
Step 9: Cap with the top tier
- Now draw the top layer of branches and a pointed top. The tree shape should taper upward.
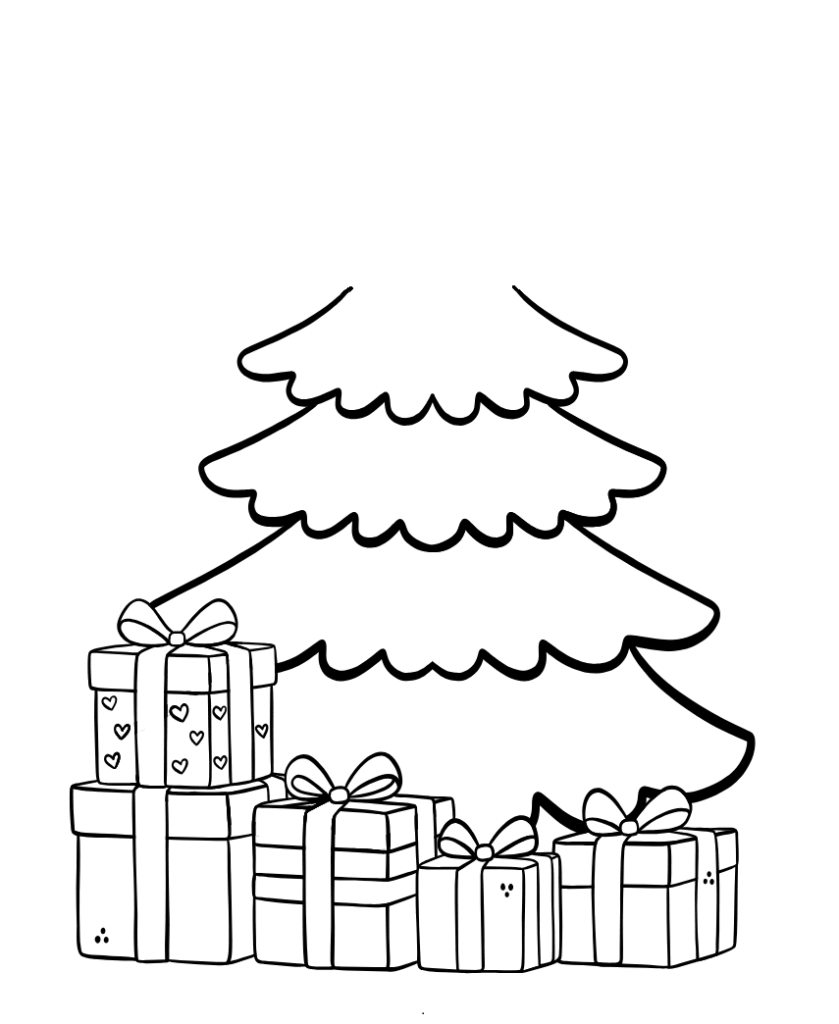
Step 10: Refine the silhouette

- Smooth the edges and neatly connect the layers. Erase extra lines around the gifts.
Step 11: Add ornaments and sparkle
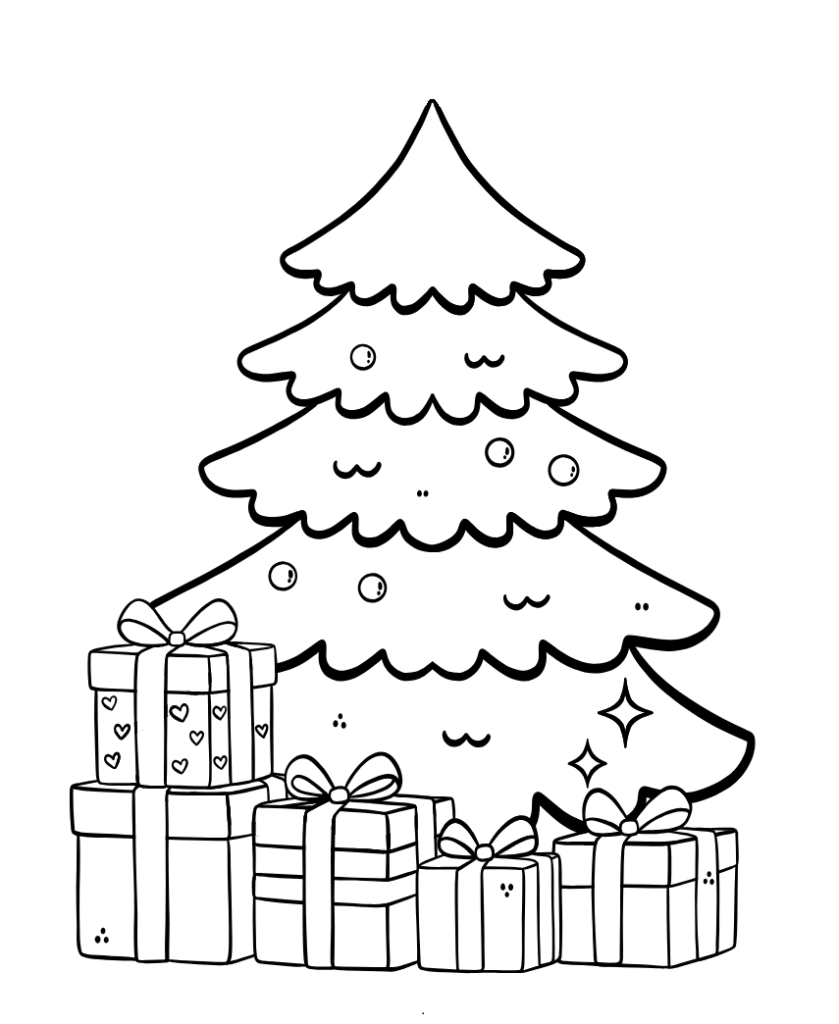
- Then place small round ornaments on different branches. Draw a few star twinkles around the tree.
Step 12: Top it with a star
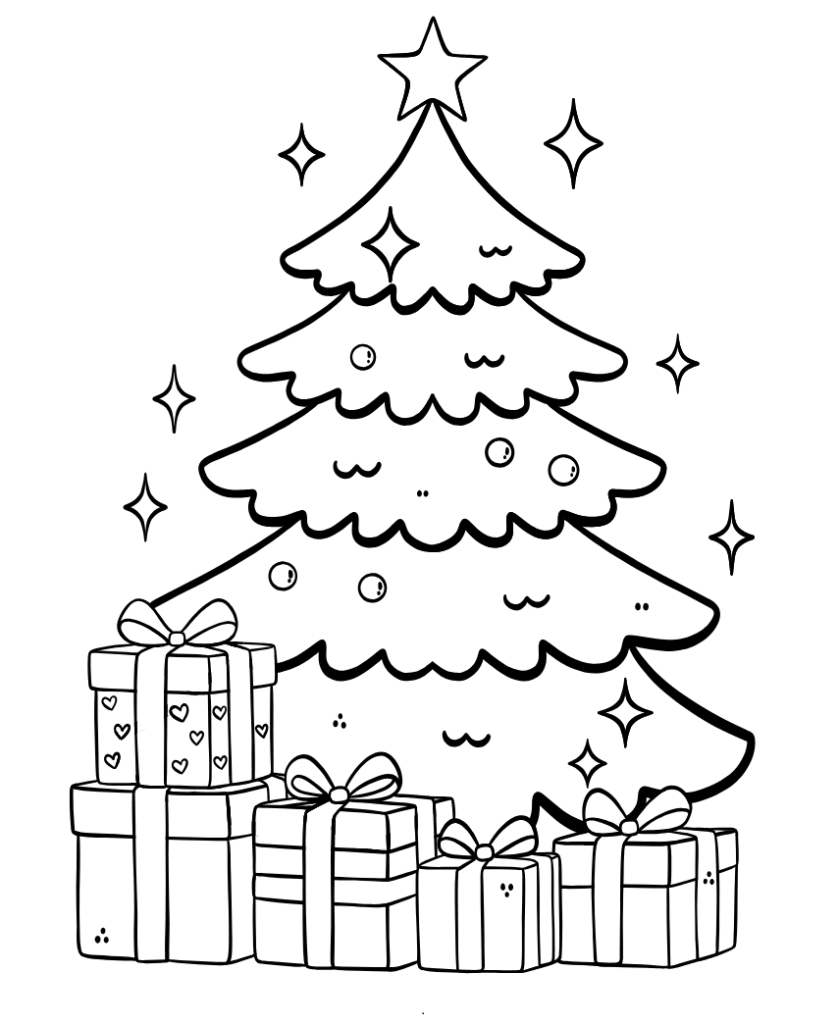
- Finally, add a bright star at the tip. A few extra sparkles complete the festive scene.
Step 13: Color Your Christmas Tree
- Now add colors to make your Christmas drawing shine!
- Color the tree green, the star bright yellow, and the ornaments red, blue, and orange.
- Use cheerful shades for the gifts —like red, yellow, and blue —and make the ribbons contrast for a festive look.
- Finally, color the sparkles light yellow to give your Christmas tree drawing a magical glow!
Great Job!
Congratulations — you’ve just finished your Christmas Tree drawing! Each step built on the last to create something truly beautiful. Keep practicing, and you’ll be drawing a Christmas Tree. Practice multiple times for better results, easy Christmas drawings with ease and confidence.

Learn how to draw simple and free step-by-step drawing tutorials for kids and beginners! On draweasyfun.com, you will learn how to draw animals, plants, objects, and popular cartoon characters with easy-to-follow instructions. So what are you waiting for! Check Out Now!